Cross-listing allows you to move section enrollments from individual courses and combine them into one course. This feature is helpful for instructors who teach several sections of the same course and only want to manage course data in one location.
Cross-listing should be done while courses are unpublished. Coursework is retained with the course, not with the section enrollments, so if a published course is cross-listed, all cross-listed enrollments will lose any associated assignment submissions and grades.
Before cross-listing courses in Canvas, consider the following scenarios:
- Are the courses that you are cross-listing identical in content for the entire semester?
- Are you OK with students from class A interacting with students from class B?
If you answered YES TO BOTH questions above, then cross-listing may be a good option for you. However, you are not required to cross-list your courses and it still may be a good idea to consult with an Instructional Designer about this option.
If you answered NO TO ANY of the questions but are still interested in the benefits of cross-listing, please contact otl@du.edu to weigh your considerations.
If you cross-list a course and then decide you no longer want the course to be cross-listed you can de-cross-list the section. WARNING: If you de-cross-list a course after students have submitted work those submissions and grades will no longer be available.
Steps for Cross-Listing
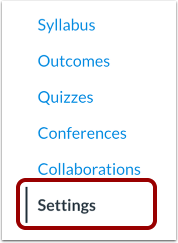
Step 1. Find the course that you want the other section or sections to go into. This is called the master course. It is possible that this course has already been populated with content, or it could be a blank course. Open this course and navigate to the course settings page (see image). Make note of the CRN of the master course.
Step 2. Find the course you want to cross-list into the master course, also known as the child course. This is the course that needs the content from the parent course. Here are some quick guides if you need help finding your courses:
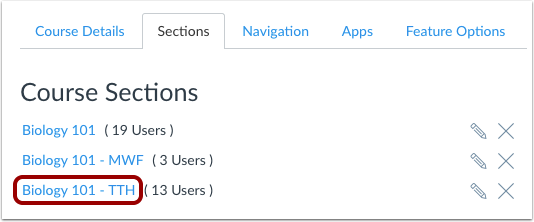
Step 3. Once you open the child course, navigate to course settings and select the “sections” tab from the top menu.

Step 4. Click on the section name, which should be the same as your child course title.

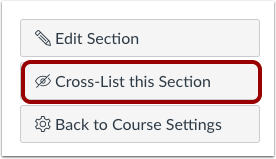
Step 5. Once you’ve clicked on the appropriate section name, click on the Cross-list This Section button on the right side of the page.
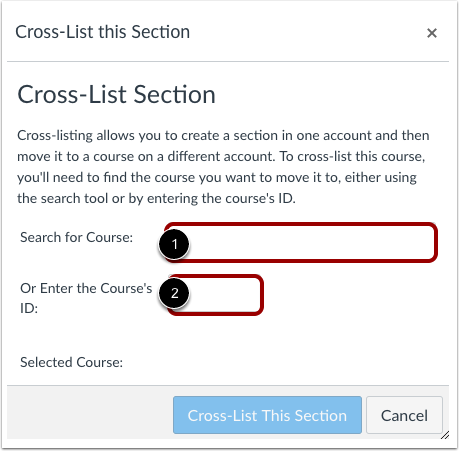
Step 6. In the Cross-list This Section window, type the CRN of the master course from Step 1 above in the “search for course” box.
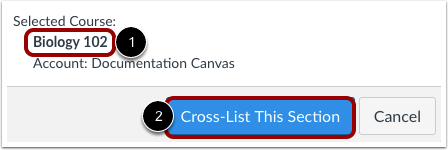
Step 7. Note: if you are teaching a course that has multiple sections and/or has been taught for multiple quarters, it is important to select the correct course by matching the CRN before saving. Once you see the appropriate course listed under “Selected Course,” save by clicking “Cross-List This Section.”
Step 8. If you need to cross-list more than one course into the master course, go back to step 2 and find the next child course to cross-list and repeat the process.
How to Verify Cross-Listed Courses
1. Navigate to the master course in your list of courses (see step 1).
2. Click on Settings in the master course.
3. Click on the Sections tab in course Settings.
4. The master course and any cross-listed courses should be display under Course Sections.
NOTE: Once you cross-list your courses, you will lose all content in the child course, including student submissions. Please be sure to cross-list your courses before the quarter begins. Do not hesitate to reach out to the Office of Teaching and Learning for support. We are happy to facilitate this process for you!