Microsoft OneDrive is now integrated into Canvas! OneDrive contains a feature that allows you and your students to collaborate on OneDrive documents directly from Canvas.
Create a OneDrive Collaboration
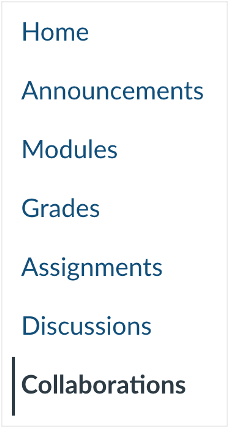
Step 1: Open Collaborations
In the Canvas Course Navigation menu, click the Collaborations link.
Step 2: Add Collaboration
Click the Add Collaboration button. You may see a pop-up window prompting you to log-in to OneDrive if you have not accessed it via Canvas before.
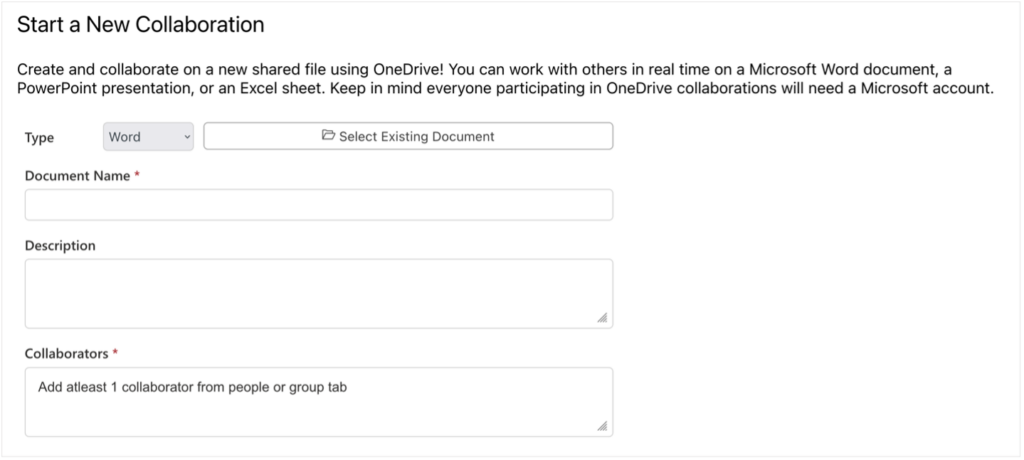
Step 3: Start a new Collaboration
Select the “Type” drop-down menu to create a new Word, PowerPoint, or Excel document, or click “Select Existing Document” to use a document that you have already saved in your OneDrive.
Give the document a name and description.
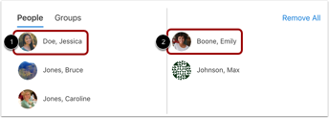
Step 4: Add collaborators
Click on the name of the users that you want to add to the collaboration document (1). Their name will move to the right panel (2). Remove collaborators by clicking on their name in the right panel.
You can also create collaborations for groups that you have already set up in your Canvas course. To select a group, click the Groups tab (1). Click the name of the group, and they will then be added to the collaboration (2).
Click the Save button.
Step 5: Start Collaborating
You and your collaborators can access the document by clicking on the document name. This will take you into the document within OneDrive.
Click Edit Document in the upper right corner to begin collaborating.
Step 6: Removing a Collaboration
If you need to remove a collaboration, click on the trashcan icon to the right of the document name. This will remove the document from the Canvas course. You will have to verify that you want to remove the document.