
Step 1
Log into DU Portfolio at portfolio.du.edu and open the portfolio that you would like to create an album for. Then, navigate to the page/tab of that portfolio where you will be adding the album.
Step 2
Click the button to “Add Content” in the top toolbar, and select “Album.”

Step 3
identify which column you’d like your album to appear in.
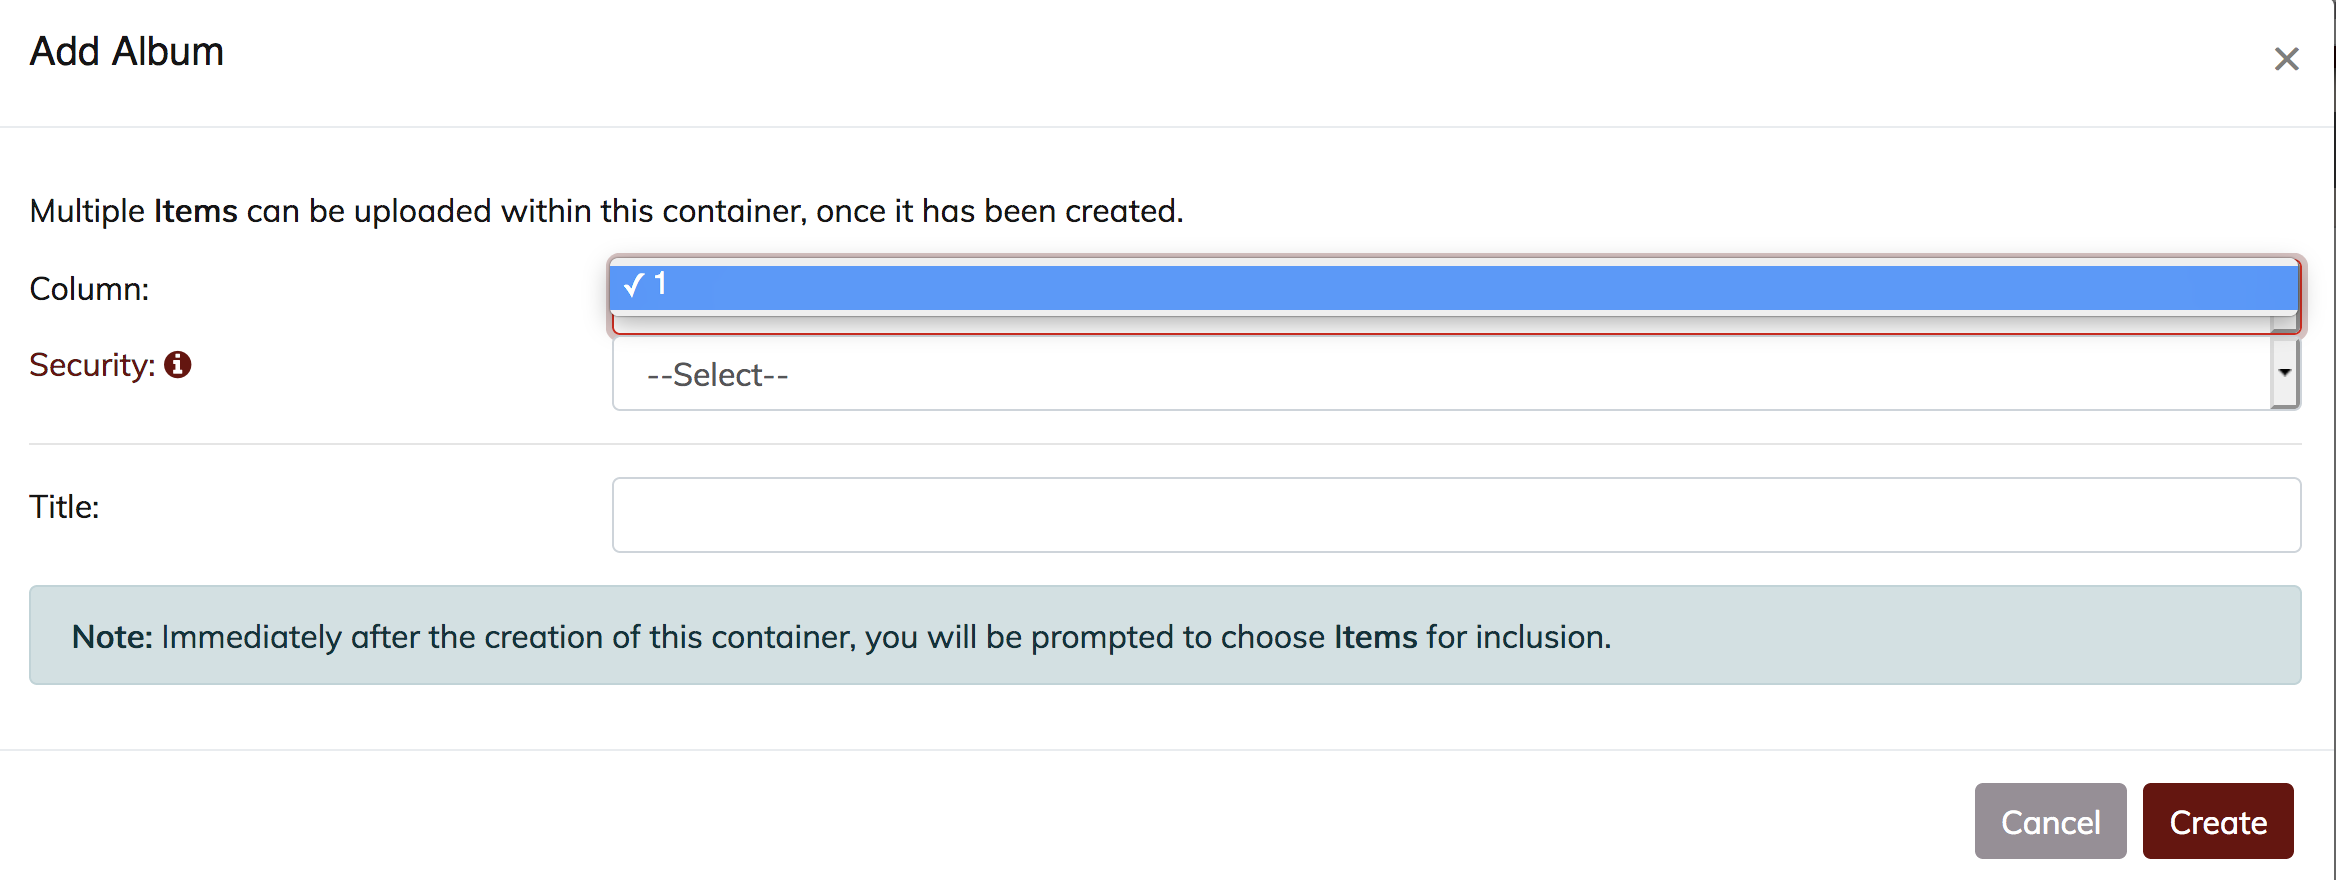
NOTE: if your page is set up with the default 1 column layout, you will only have 1 option to select from.
Step 4
identify a security setting (private, public, university, or community – if applicable) for the album.

Step 5
Give your album a title and click the button in the bottom right corner to “Add Images” to your album.

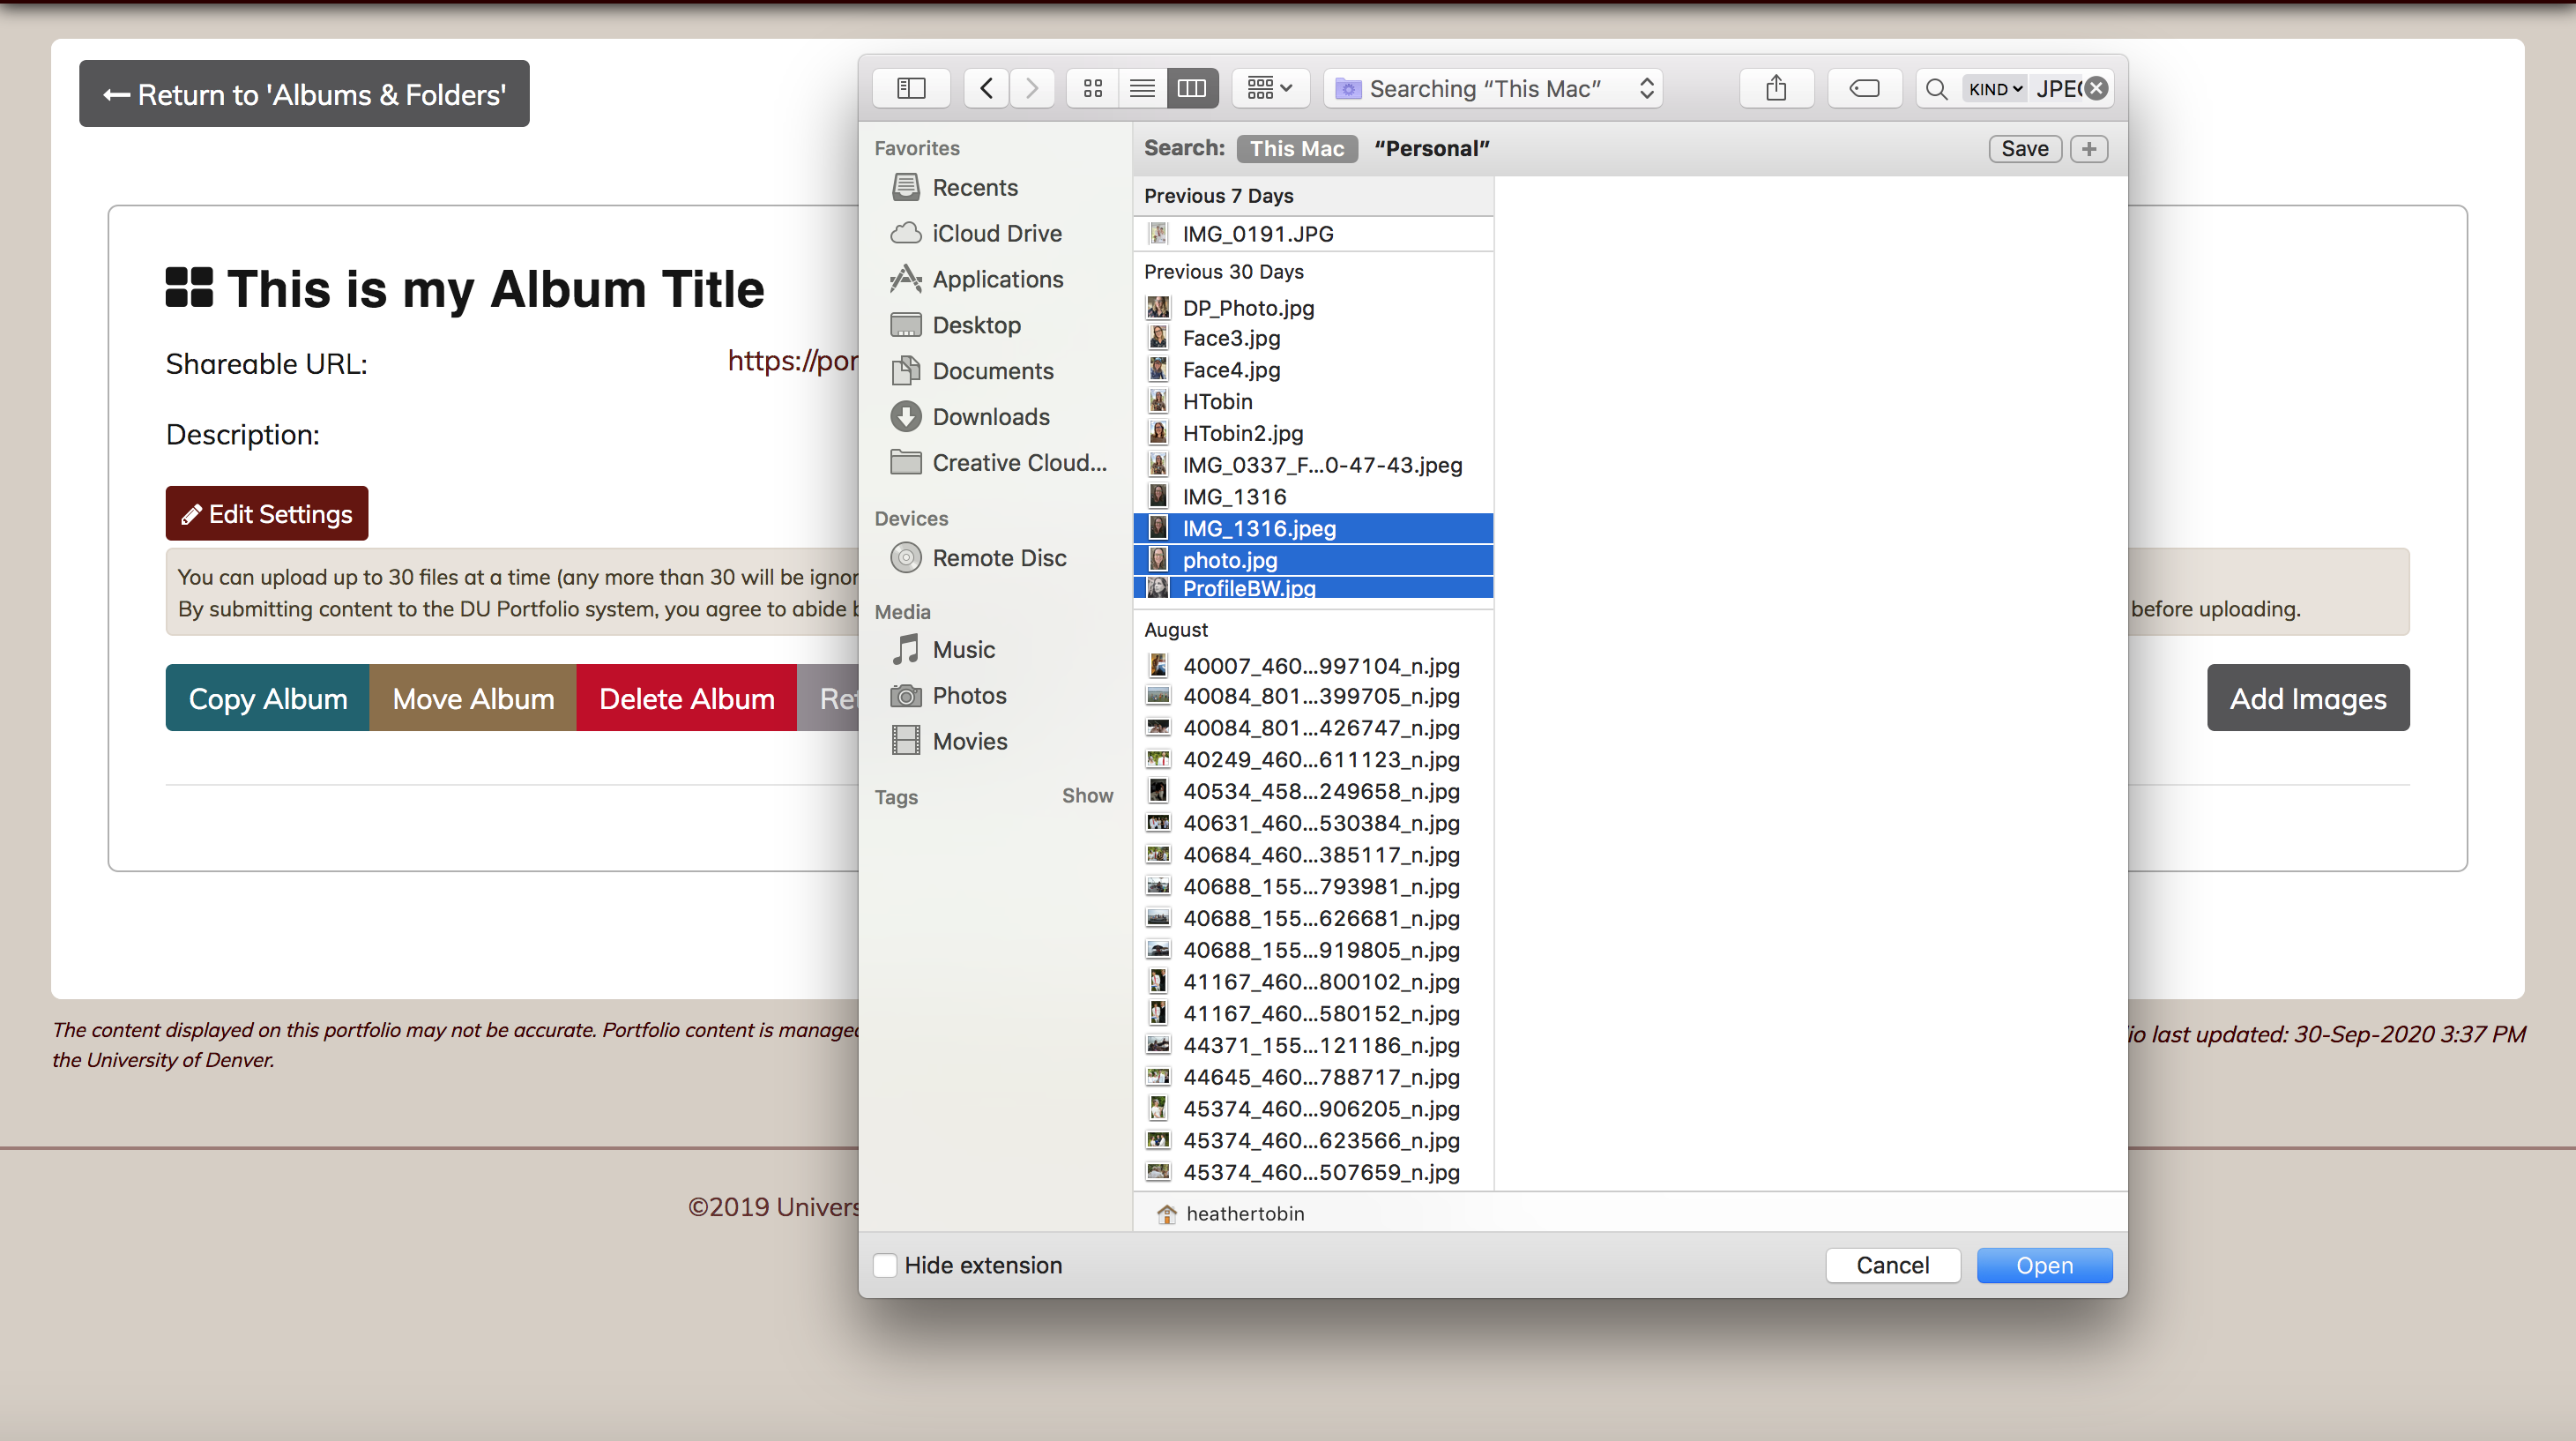
Step 6
Find the images you’d like to add where they are saved, and highlight those that you’d like to select. Then click “Open” to add them to the album.
Step 7
Click on the pencil icon in the upper right hand corner to edit the title an description of each image.
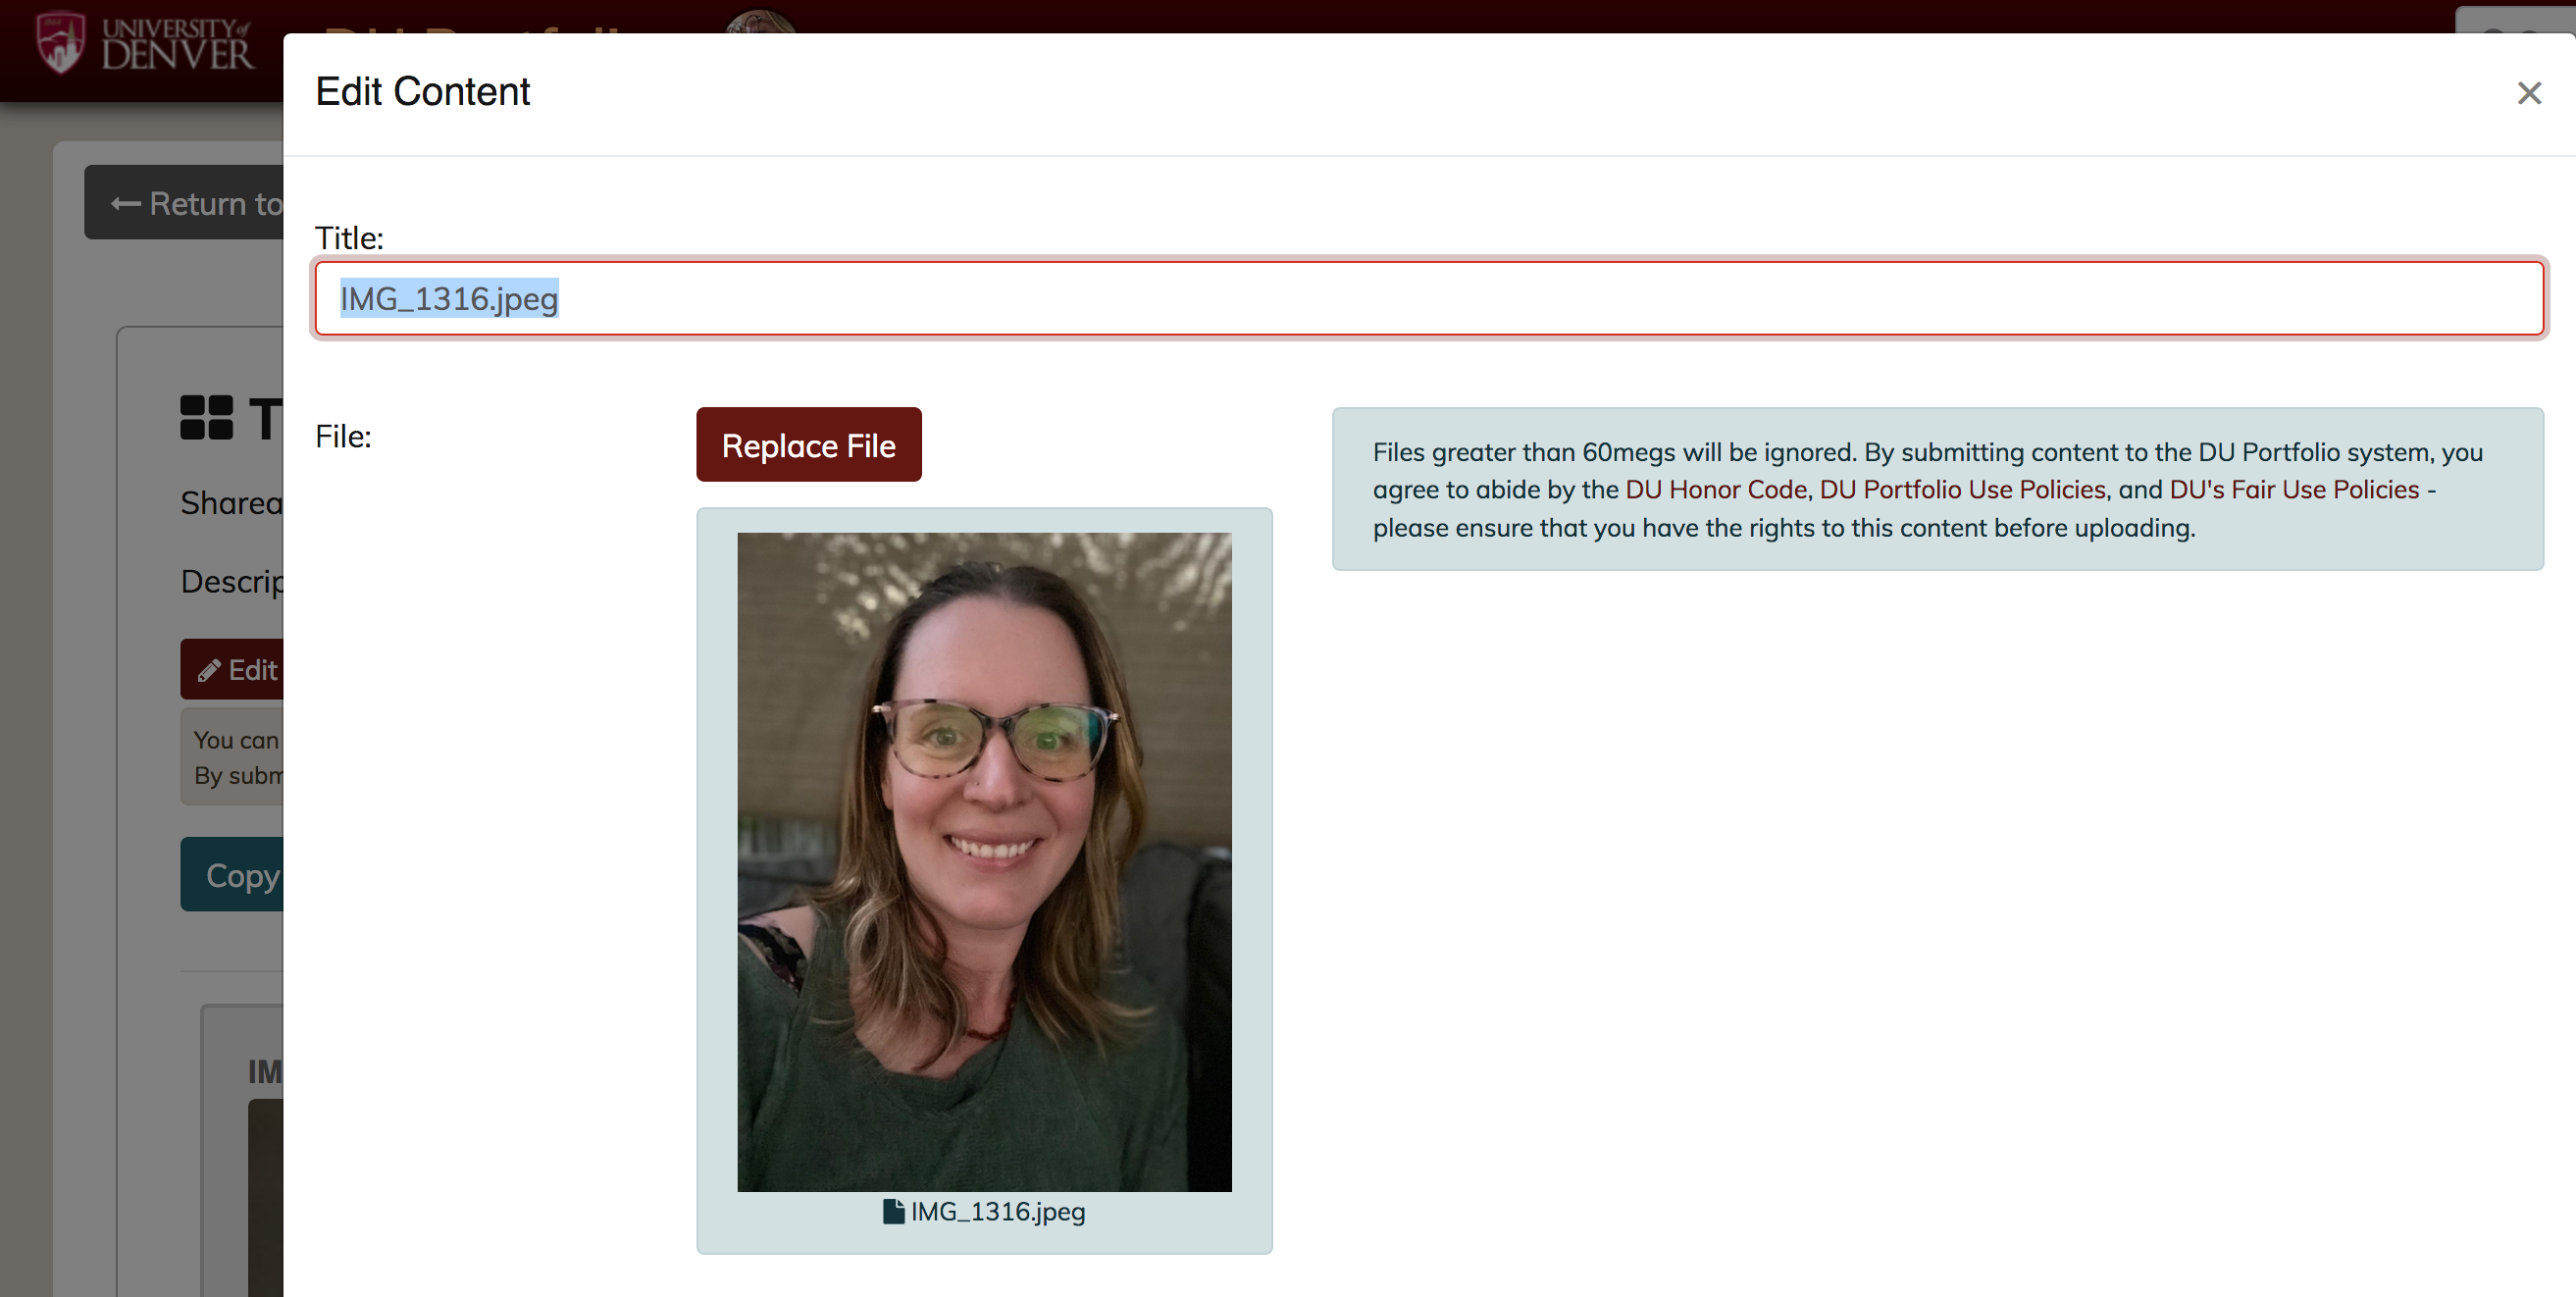
Step 8
Add a new title to replace the default file name for each of your photos, and use the blank text box below the image preview to add an annotation/description. Then, click “Submit” to save your changes.

Step 9
Finally, click “Return to ‘Albums'” in the top left-hand corner to return to the main portfolio page. You can see a preview of what your album will look like to viewers by clicking directly on title title. Remember to click on the pencil icon to make any changes or edits to the album.
