Last updated on 1/23/2024
This article includes
- Overview
- Option A: Using a phone voice recorder app
- face-to-face interviews
- Option B: Using DU Zoom
- Good for remote interview or face-to-face
- Edit Transcript
- Download Transcript
Overview
Qualitative research at times requires audio transcripts for analysis. This document outlines steps on how to record, edit, and download the transcript with timecodes and speaker names.
Option A: Using a phone voice recorder app
- Use iPhone Voice Memo or Google Pixel Voice Record to record your face-to-face interview.
- Transfer the audio file from your phone to your computer.
- Go to your Canvas course -> My Media
- Press Add New -> Media Upload
- Upload your audio file. Give your recording a clear title.
- Wait. For a 1-hour long recording, wait 2 hours for the transcript.
- Edit transcript
- Download transcript

Option B: Using DU Zoom
- Use the DU Zoom portal and create a meeting. DU Zoom allows for unlimited meeting duration and cloud recordings. Do not use the free version of Zoom, it has limited features.
- Follow the Using ZOOM to Record an Interview Video instructions.
- You will need to add speaker names to your transcript files during editing.
- All Zoom recordings end up in your DU MediaSpace and Canvas My Media.
- Edit transcript
- Download transcript

Edit Transcript
- Transcript files can take up to 1 hour for a 1 hour video/audio file.
- Go to Canvas -> My Media -> Edit icon.
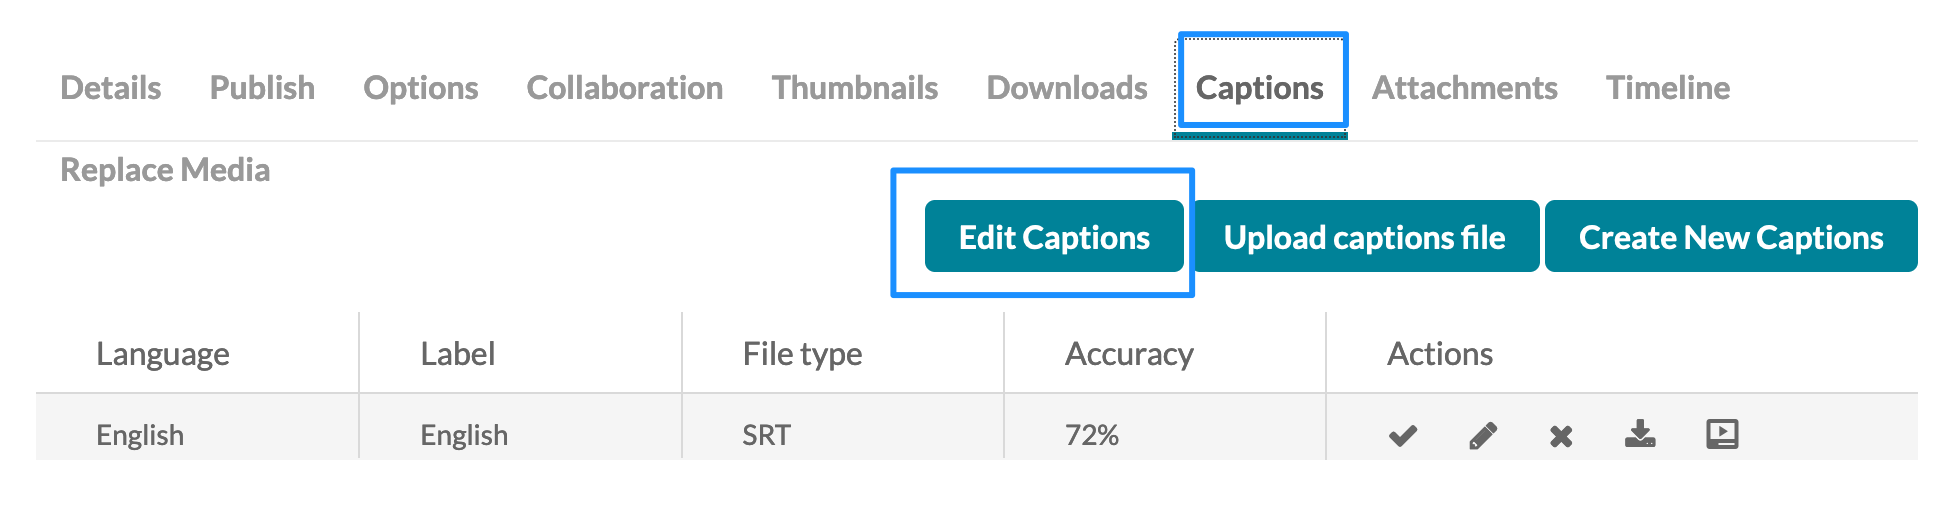
- Go the the Captions tab and click Edit Captions button.
- Edit the transcript.
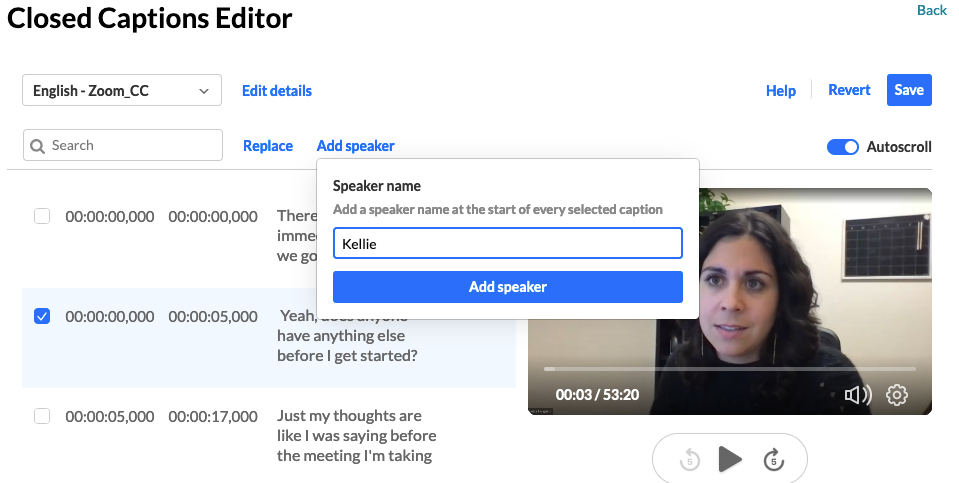
- Add the speaker’s name to the transcript each time a new speaker starts talking.
- Press Save regularly during editing.
- Press Back when done.
- Download transcript.
Click Add Speaker and click the checkbox.
Download Transcript
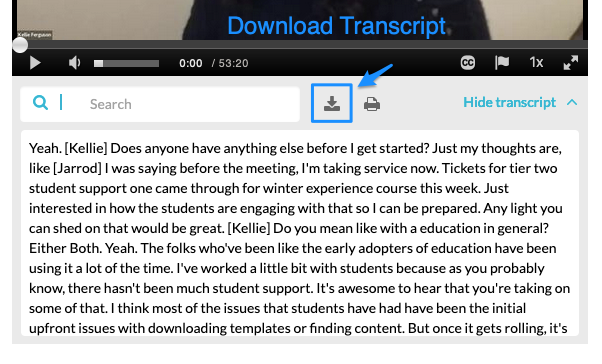
Click the Download icon to download the transcript as an .TXT file. TXT files can be opened and edited using MS Word.
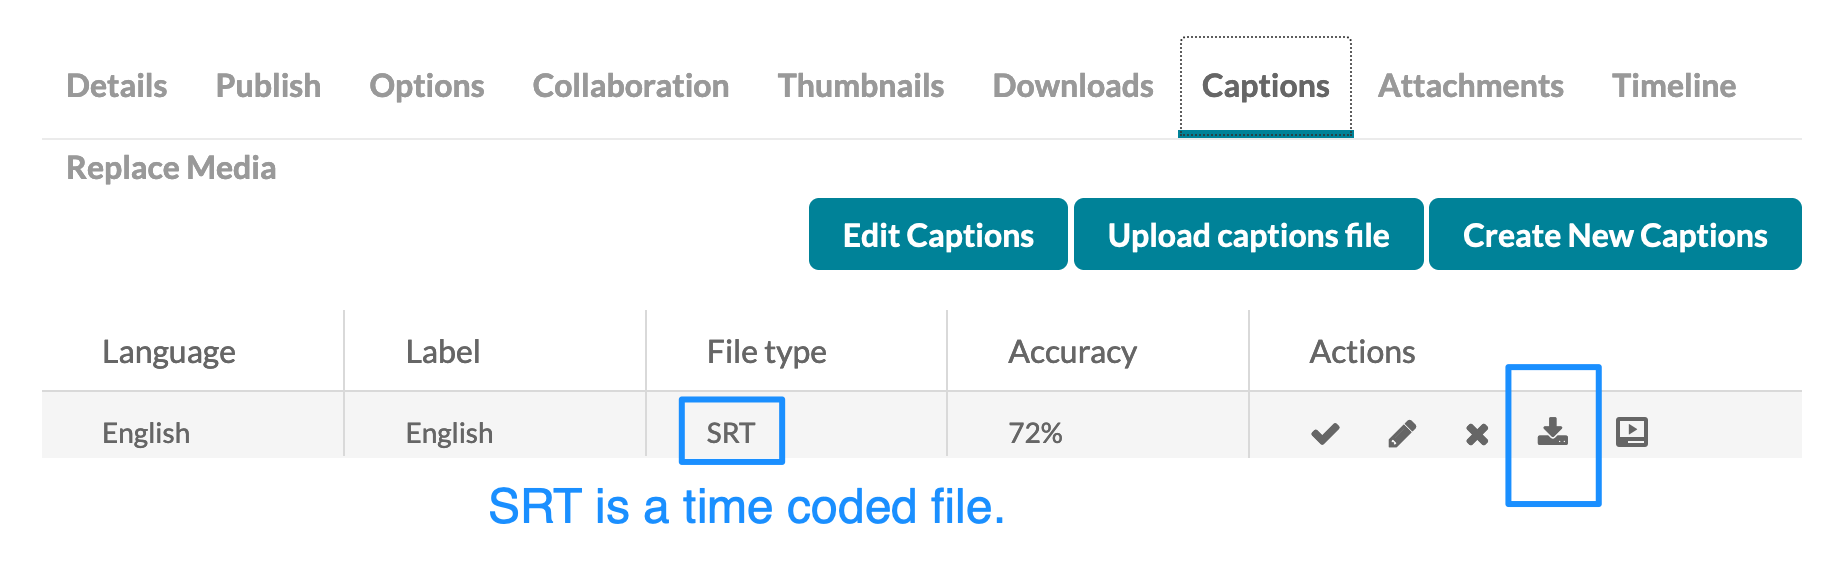
If you wish to download the SRT time-coded file, click the download icon.