This article covers:
- What can I do with interactive Chapters and Slides?
- Adding and Deleting Chapters.
- Adding and Deleting Slides.
What can I do with Interactive Chapters and Slides?:
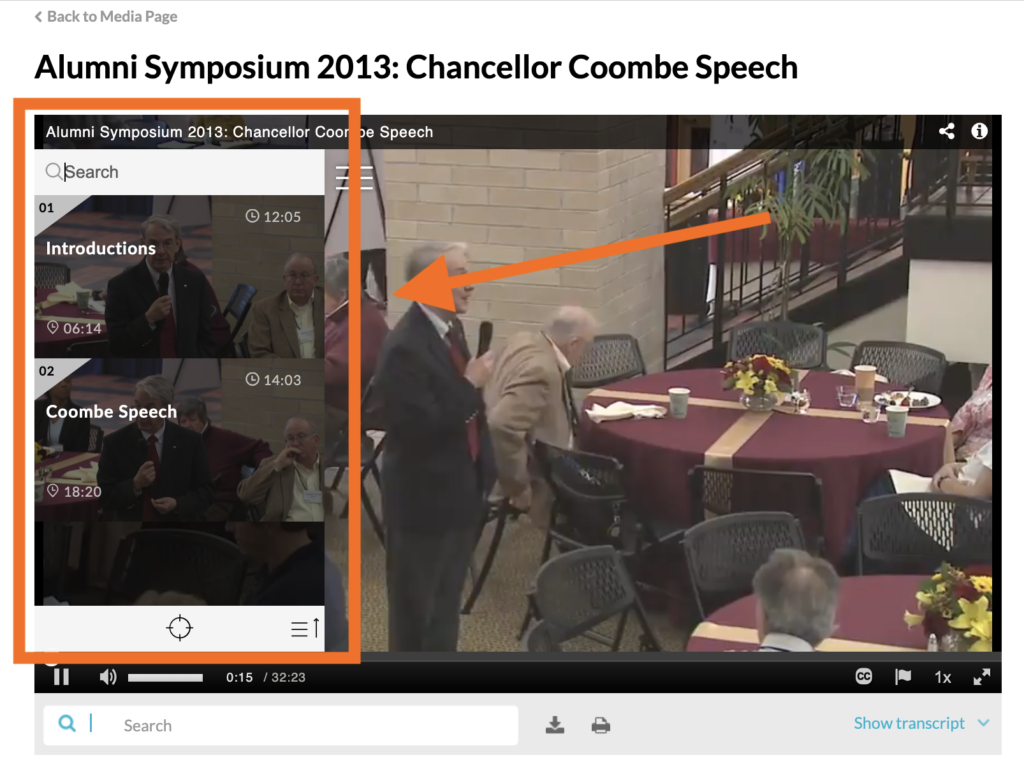
Interactive Chapters and Slides allow you to easily navigate videos in Kaltura Players. Chapters act like bookmarks. Use them to mark important parts of the video or easily navigate through a long video. Slides are automatically created when a presentation is recorded using the Kaltura Capture Desktop Recorder or can be uploaded from your computer.
To learn more about recording presentations using the Kaltura Capture Desktop Recorder, see the Kaltura Capture – User Manual.
Adding and deleting chapters in Kaltura videos:
You can add, edit, and delete chapters when editing videos through the Kaltura media Timeline.
Add a New Chapter:
- Log in to DU MediaSpace and go to My Media.
- Click on the entry you want to edit.
- Click Actions and select Edit.
- Select the Timeline tab. Here you can view all the chapters and slides in the video.
- Click the point on the timeline where you want to add a new chapter.
- Click the Bookmark icon, Create a new Chapter, and the chapter will appear on the timeline.
- Add a Title and click Save.
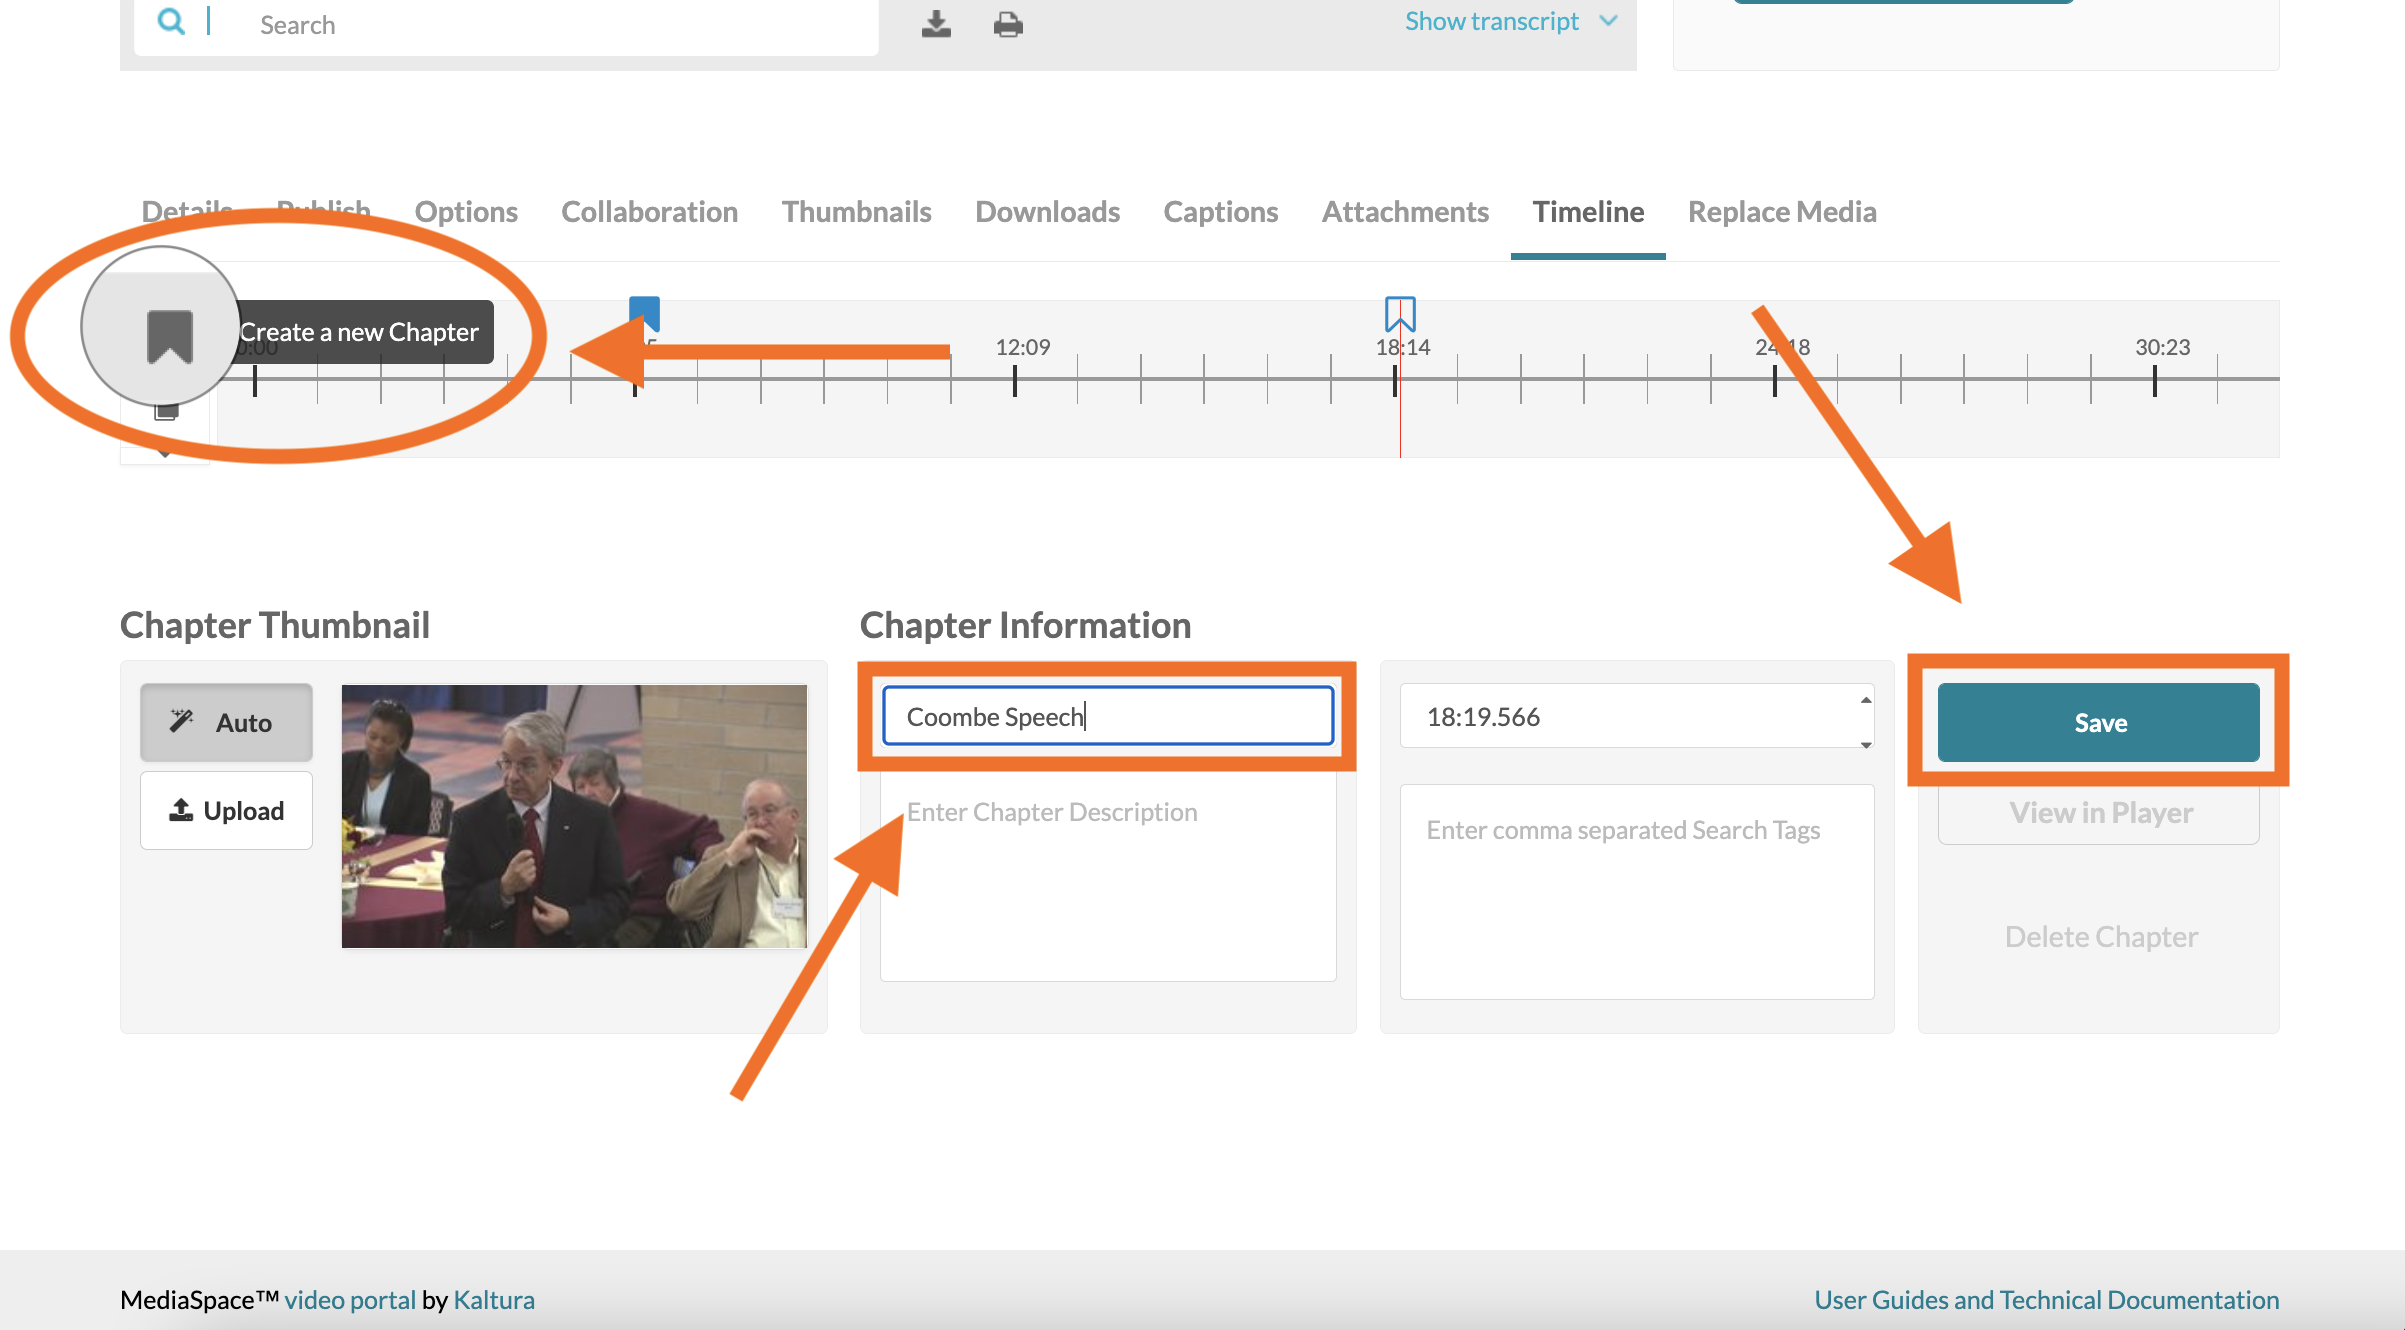
Options for Editing or Deleting Existing Chapters:
- Select the Chapter you want to Edit or Delete.
- Click and drag Bookmark icon to adjust Chapter start time.
- Change thumbnail by uploading an image.
- Edit description and add searchable tags.
- View in Player to preview your changes. Save to confirm changes.
- Click Delete only to remove selected Chapter completely.

Adding and deleting slides in Kaltura videos:
Adding Slides:
- Log in to DU MediaSpace and go to My Media.
- Click on the entry you want to edit.
- Click Actions, select Edit, and select the Timeline tab.
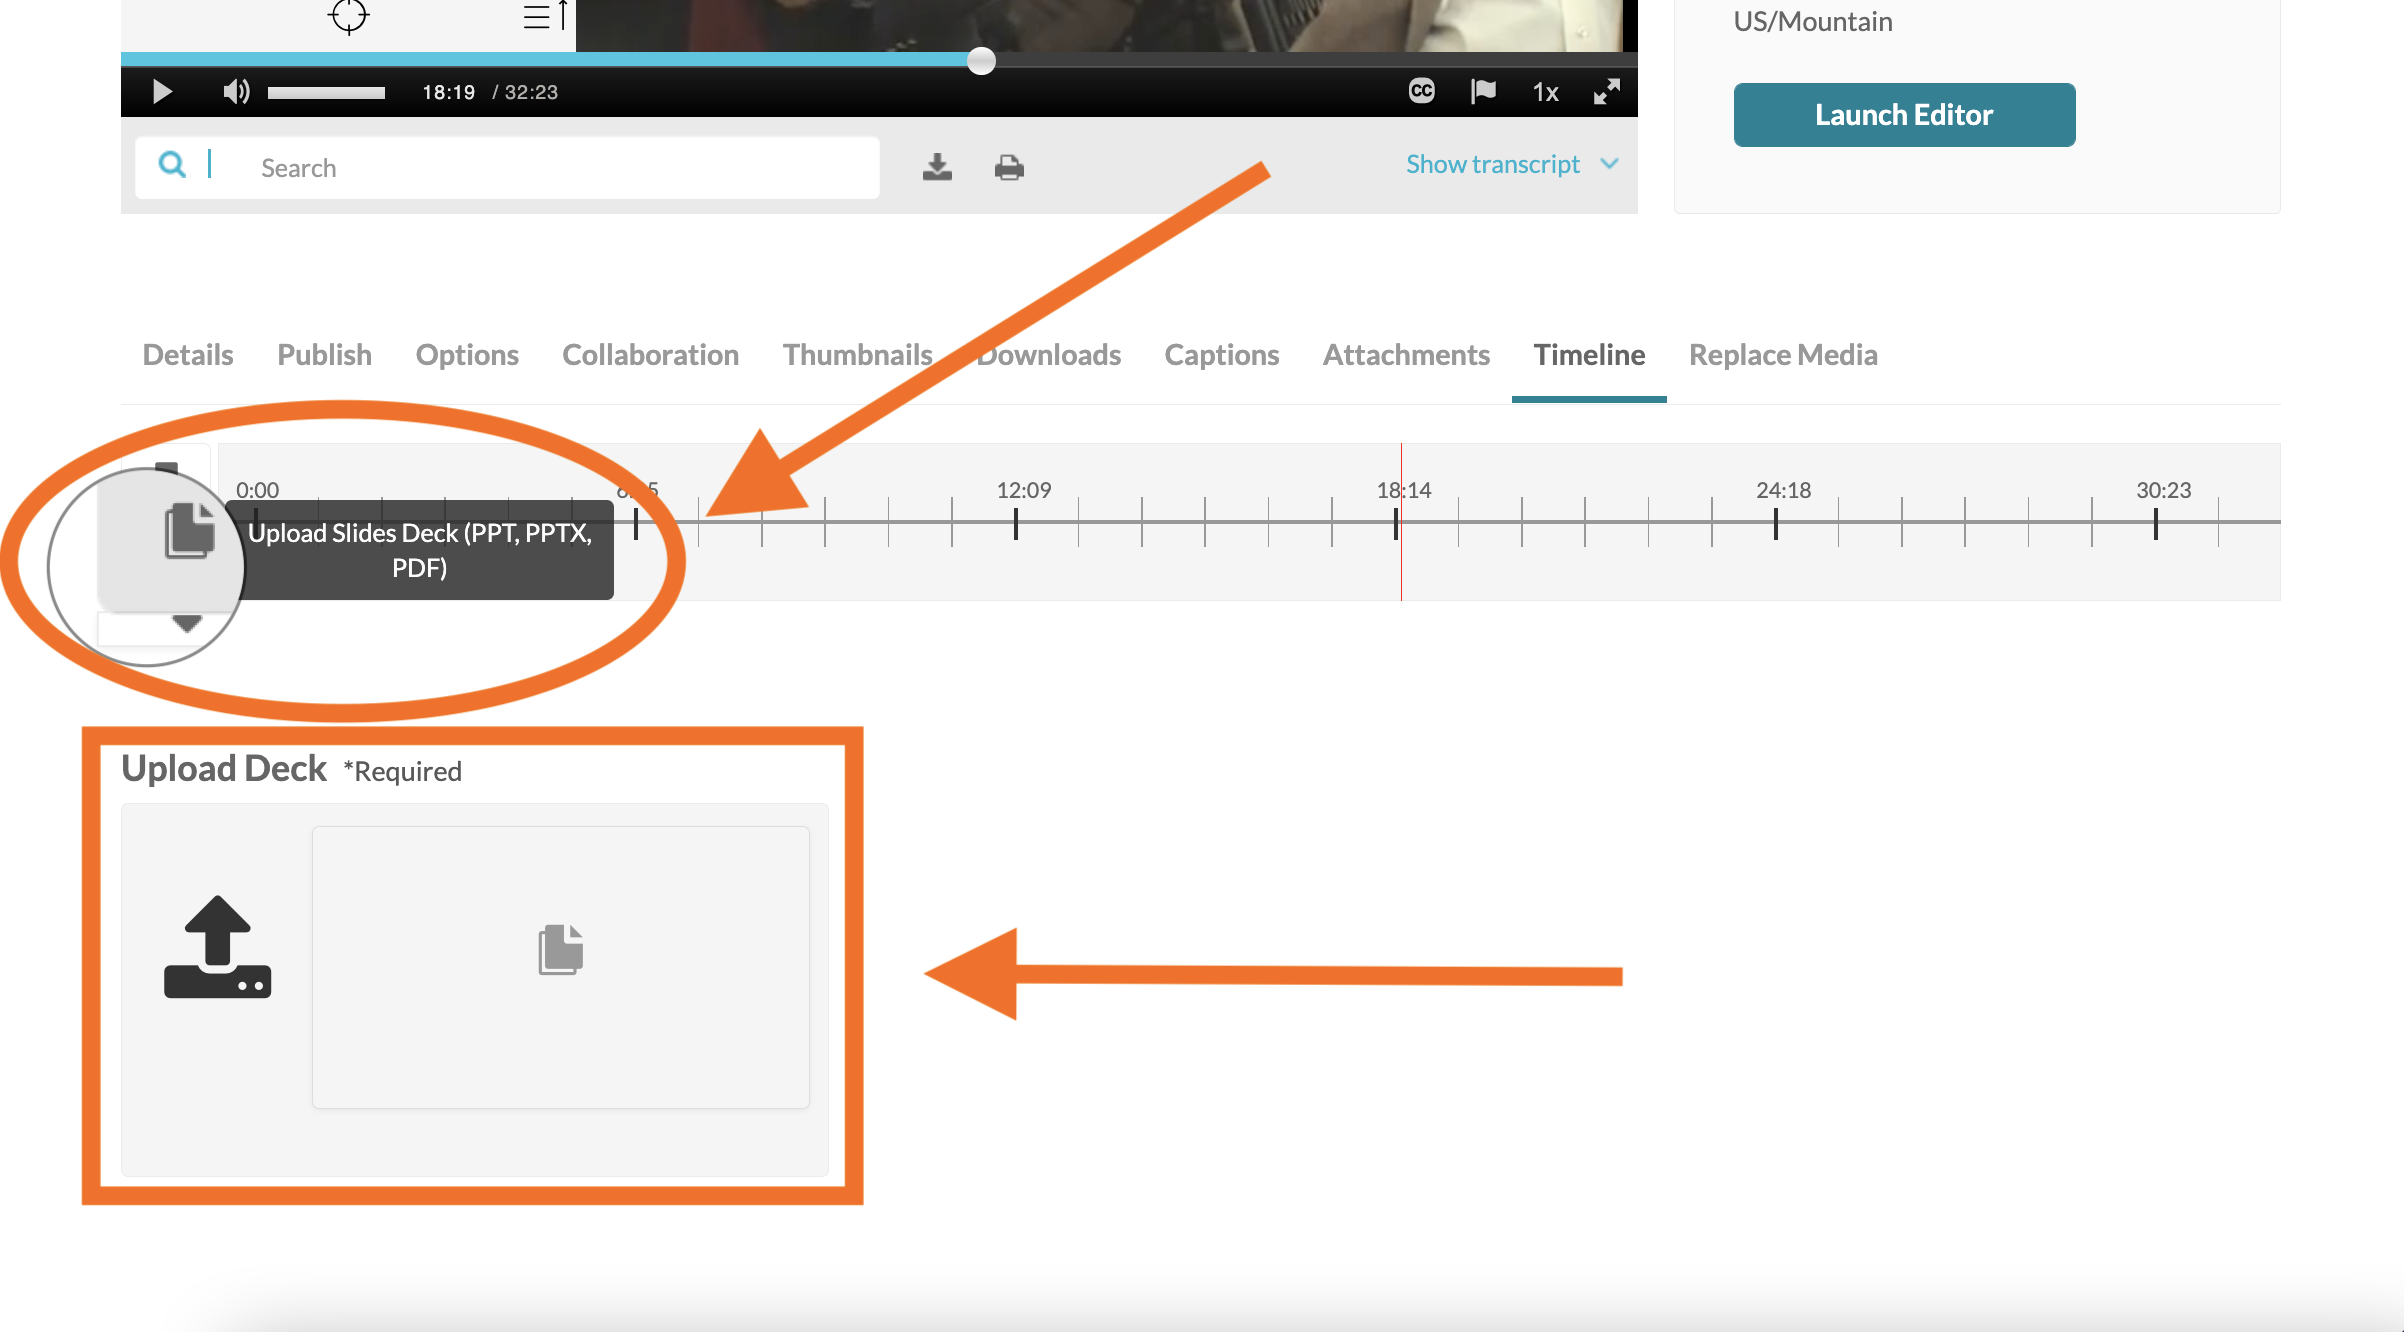
- Click the File icon on the left of the timeline, click Upload Deck, and then choose the file from your computer you wish to upload.
- Add a Slide Title and Save.
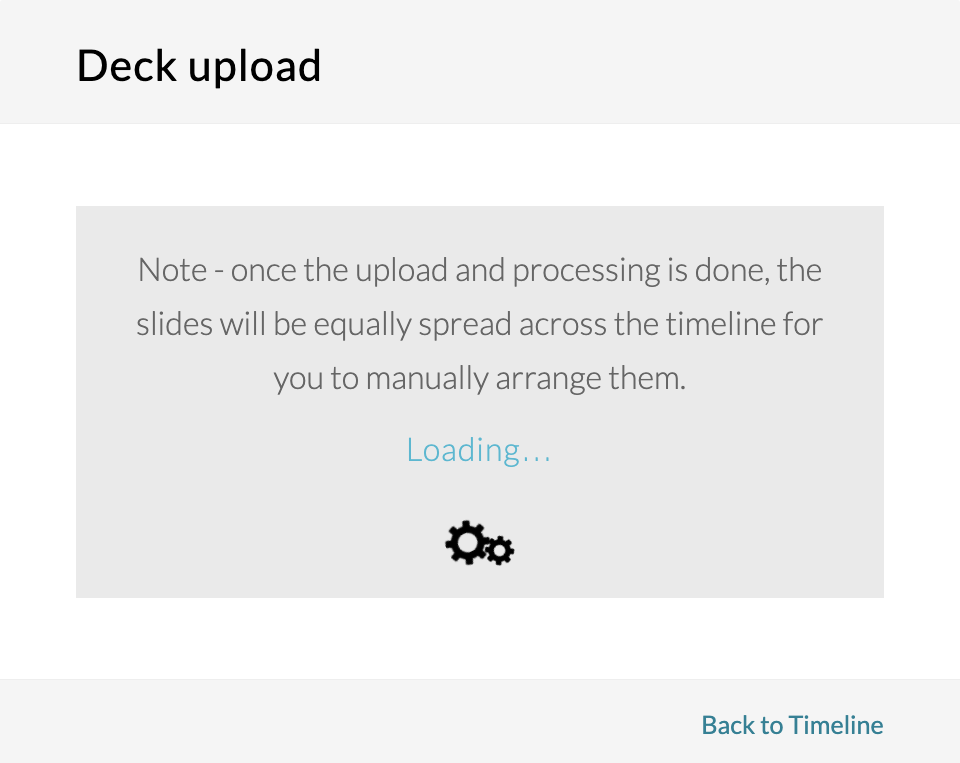
“Note-once the upload and processing is done, the slides will be equally spread across the timeline for you to manually arrange them.”
Slides will now appear in the Kaltura player in the bottom right corner, enhancing your video. Slides are indicated by File icons on your Timeline. You can Click and drag the icons to the appropriate spot on the Timeline to sync with corresponding parts of your video.

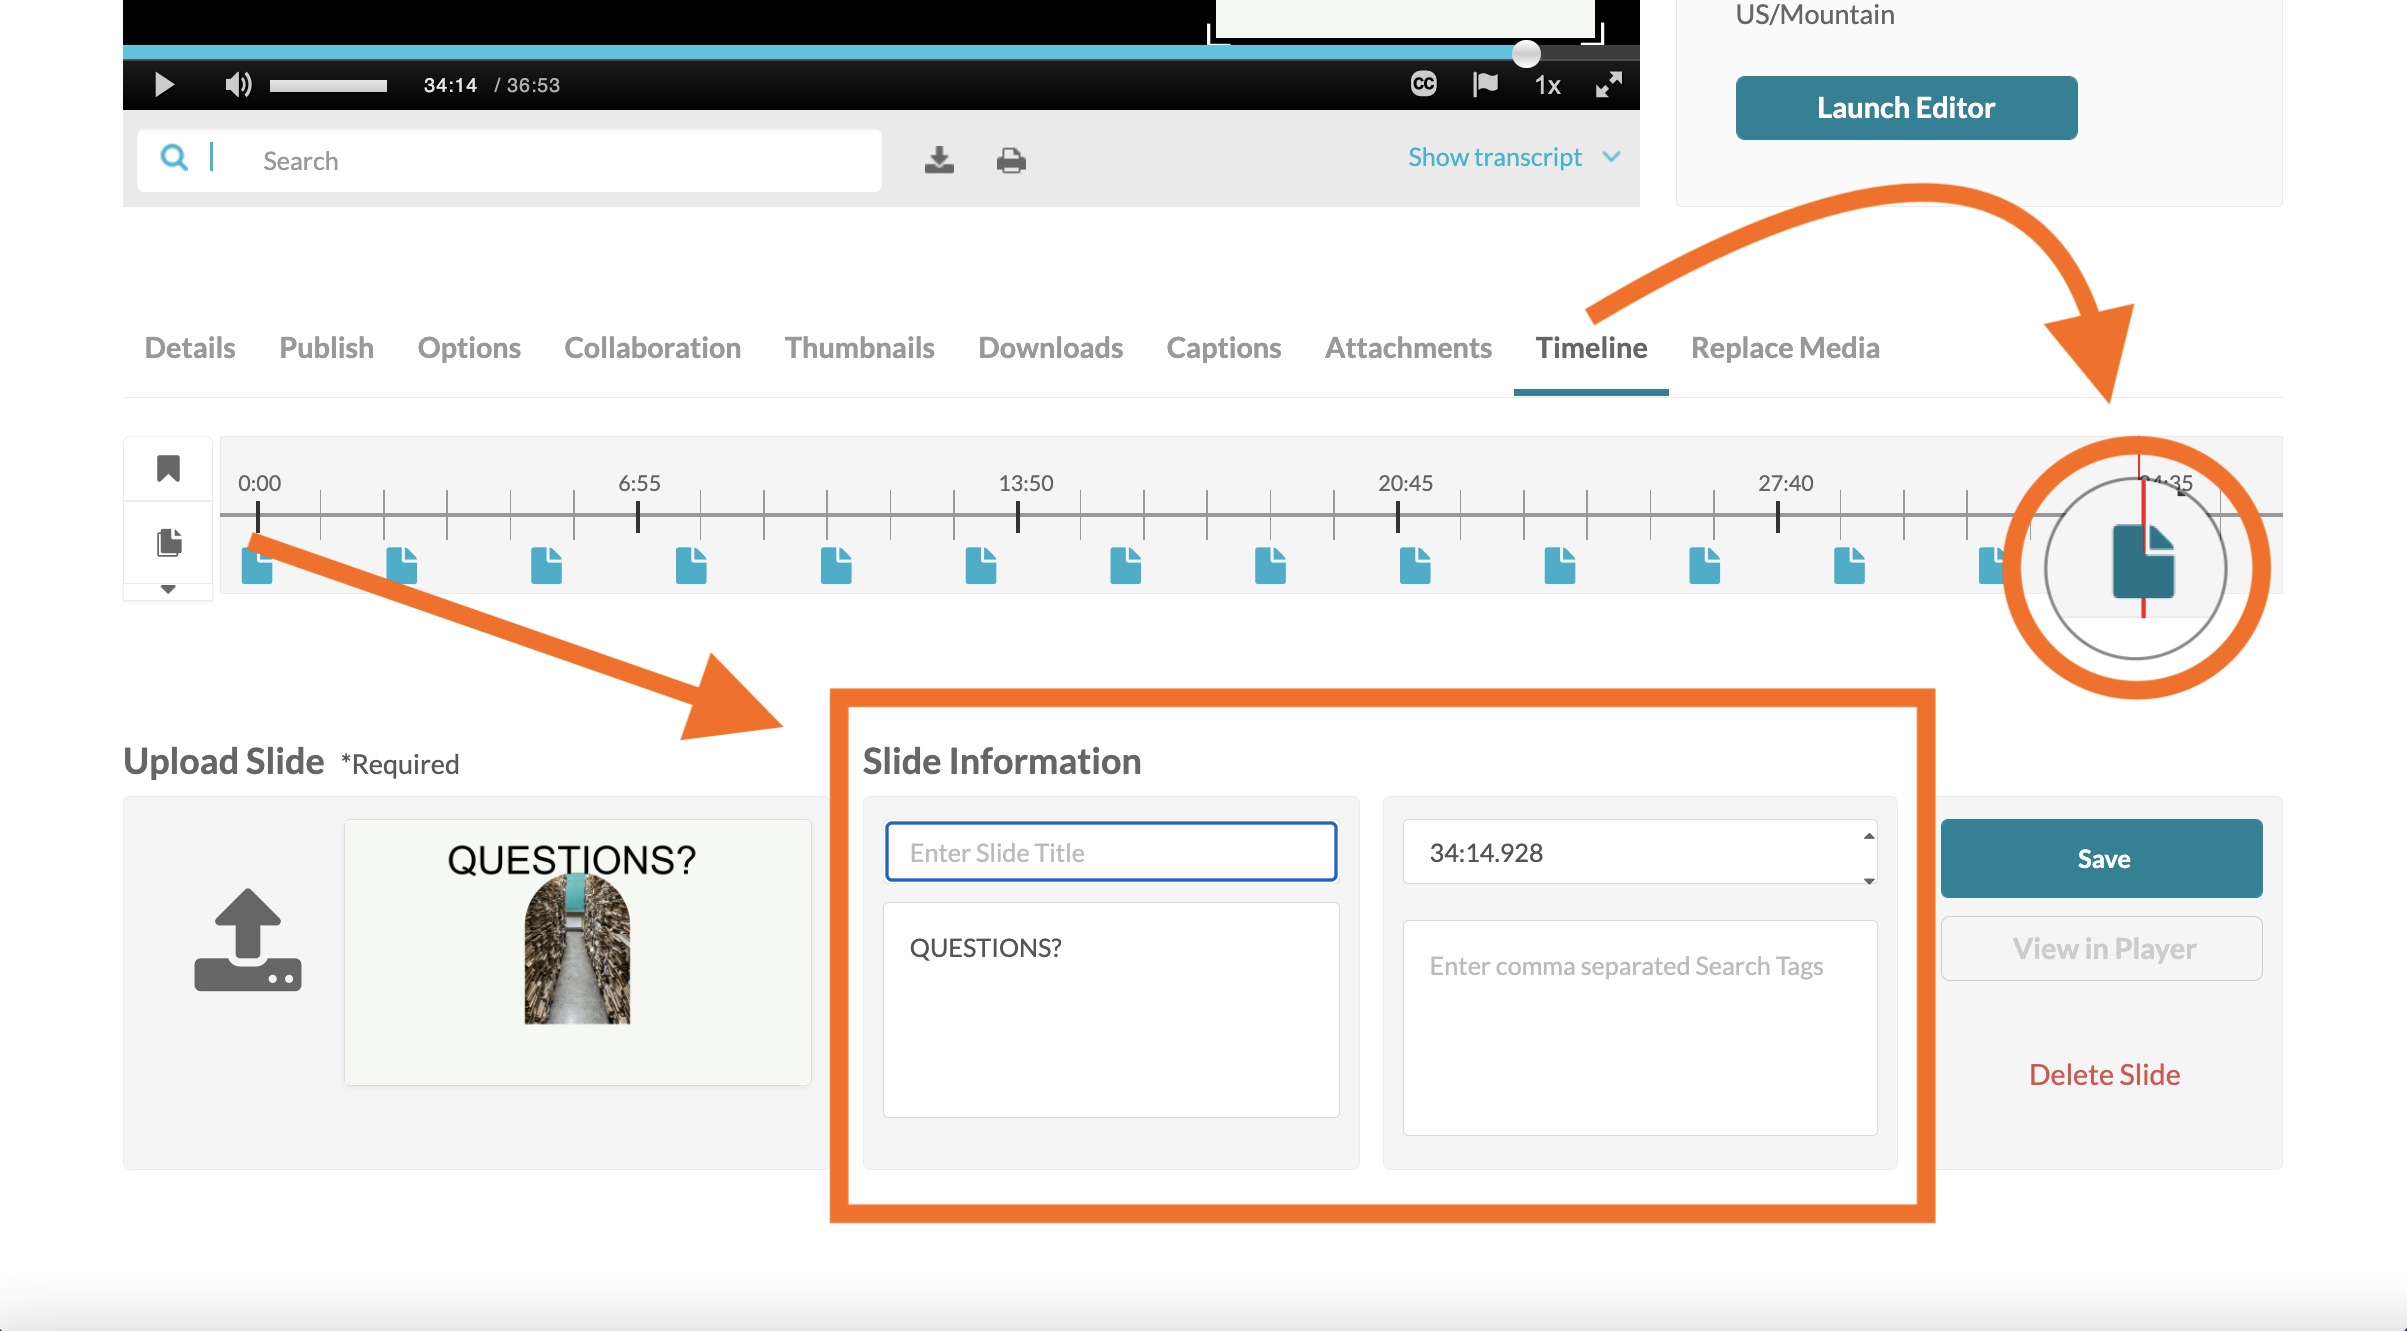
Options for Editing and Deleting Slides:
- Select the Slide you want to Edit or Delete.
- Click and drag File icon to adjust the position of the Slide on the Timeline.
- Edit description and add searchable tags.
- View in Player to preview your changes. Save to confirm changes.
- Click Delete only to remove selected Slide completely.
To learn more about using Chapters and Slides check out the Kaltura Knowledge Center: Editing Chapters and Slides.