A course welcome video is a great way for your students to get to know you. Here are a few tips for making a course welcome video.
In this article:
- What to include in welcome video
- Tech Tips
- Option 1: Kaltura Express Capture within Canvas
- Option 2: Kaltura Capture within Canvas
- Option 3: ZOOM – Record video and upload to Canvas
- Examples
What to include in a welcome video:
Short and concise is best. Don’t overload students with too much information in this type of video. A good rule of thumb is 3-5 minutes because welcome videos are not professionally edited to help keep the viewer’s attention. If you have more to say, create more videos for your course.
- Put your friendly camera voice and face on. You want to motivate your students as they watch your video. Don’t overload them with too much information. Don’t discuss specifics or add dates because you might want to reuse this video the next time you teach this same course.
- Show your personality. Include a section with photos or clips of your life. What do you do in your free time?
- Include your expectations for behavior and participation.
- Add notable information. Include special instructions or requirements, such as virtual class meetings.
- When are you available? List your availability and communication expectations.
- Include your virtual office hours.
- Let them know that questions and concerns are welcomed.
- Direct students to available tech support to show that you want everyone to be successful.
- Show students exactly how to get started in your course.
Tech Tips:
- Record yourself in a bright, quiet and non-distracting indoor space.
- Use a good computer microphone or USB microphone to improve the audio quality of your video. Good audio sounds professional and improves the auto-closed captions.
- When recording, you should be eye level with the camera.
- The primary light source should be facing toward you and not behind you. Avoid sitting in front of a bright window.
- Edit the auto closed captions using the Kaltura Closed Caption Editor.

Option 1: Express Capture within Canvas
The Canvas Express Capture tool is fast, easy, and requires no software download. Create a new Canvas page.
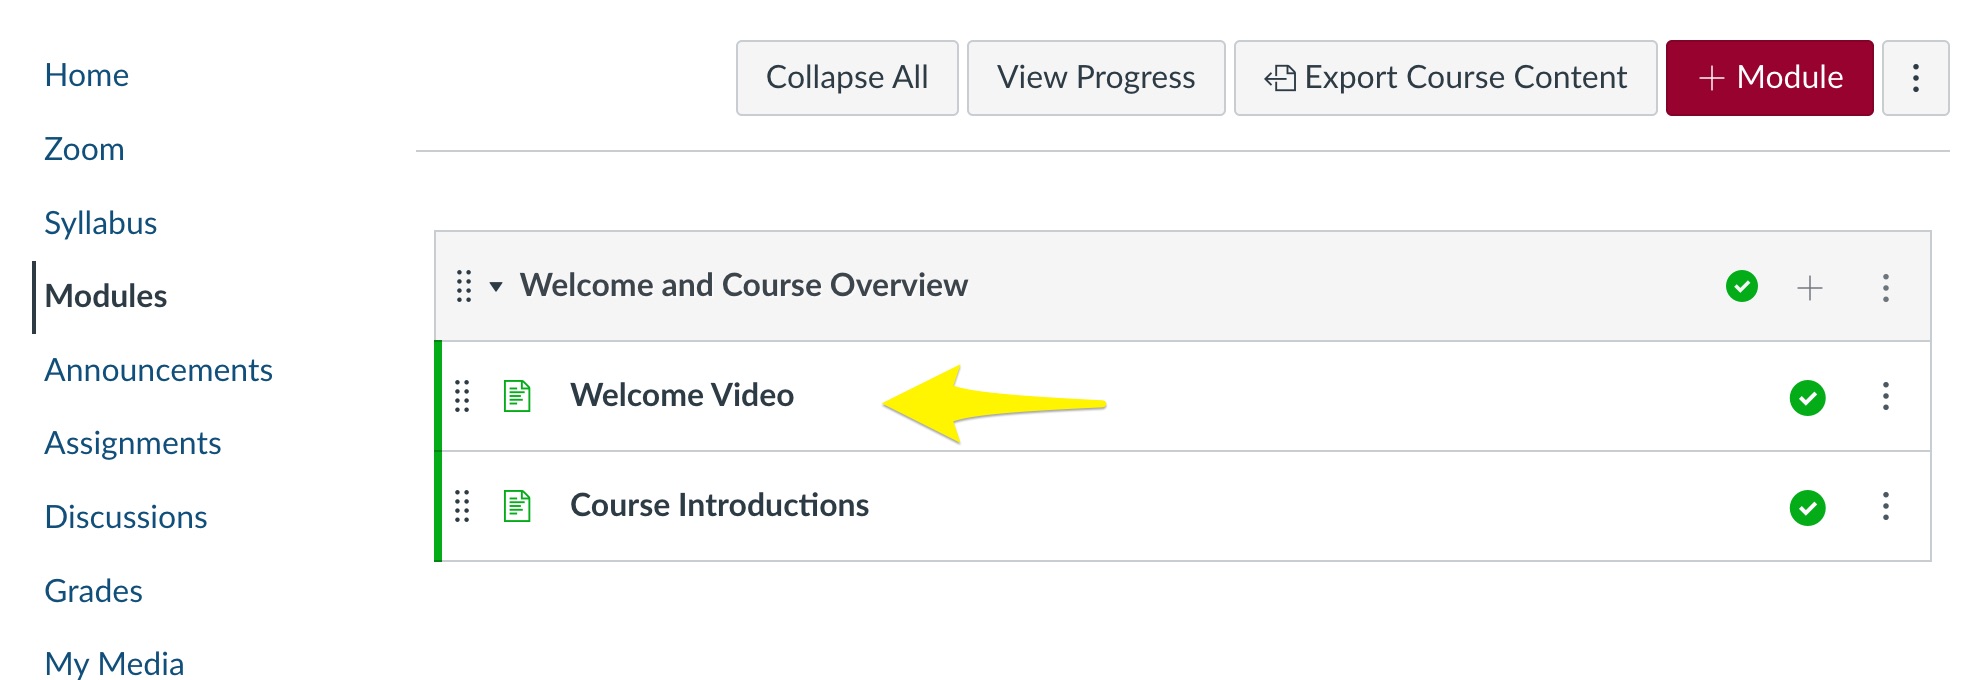
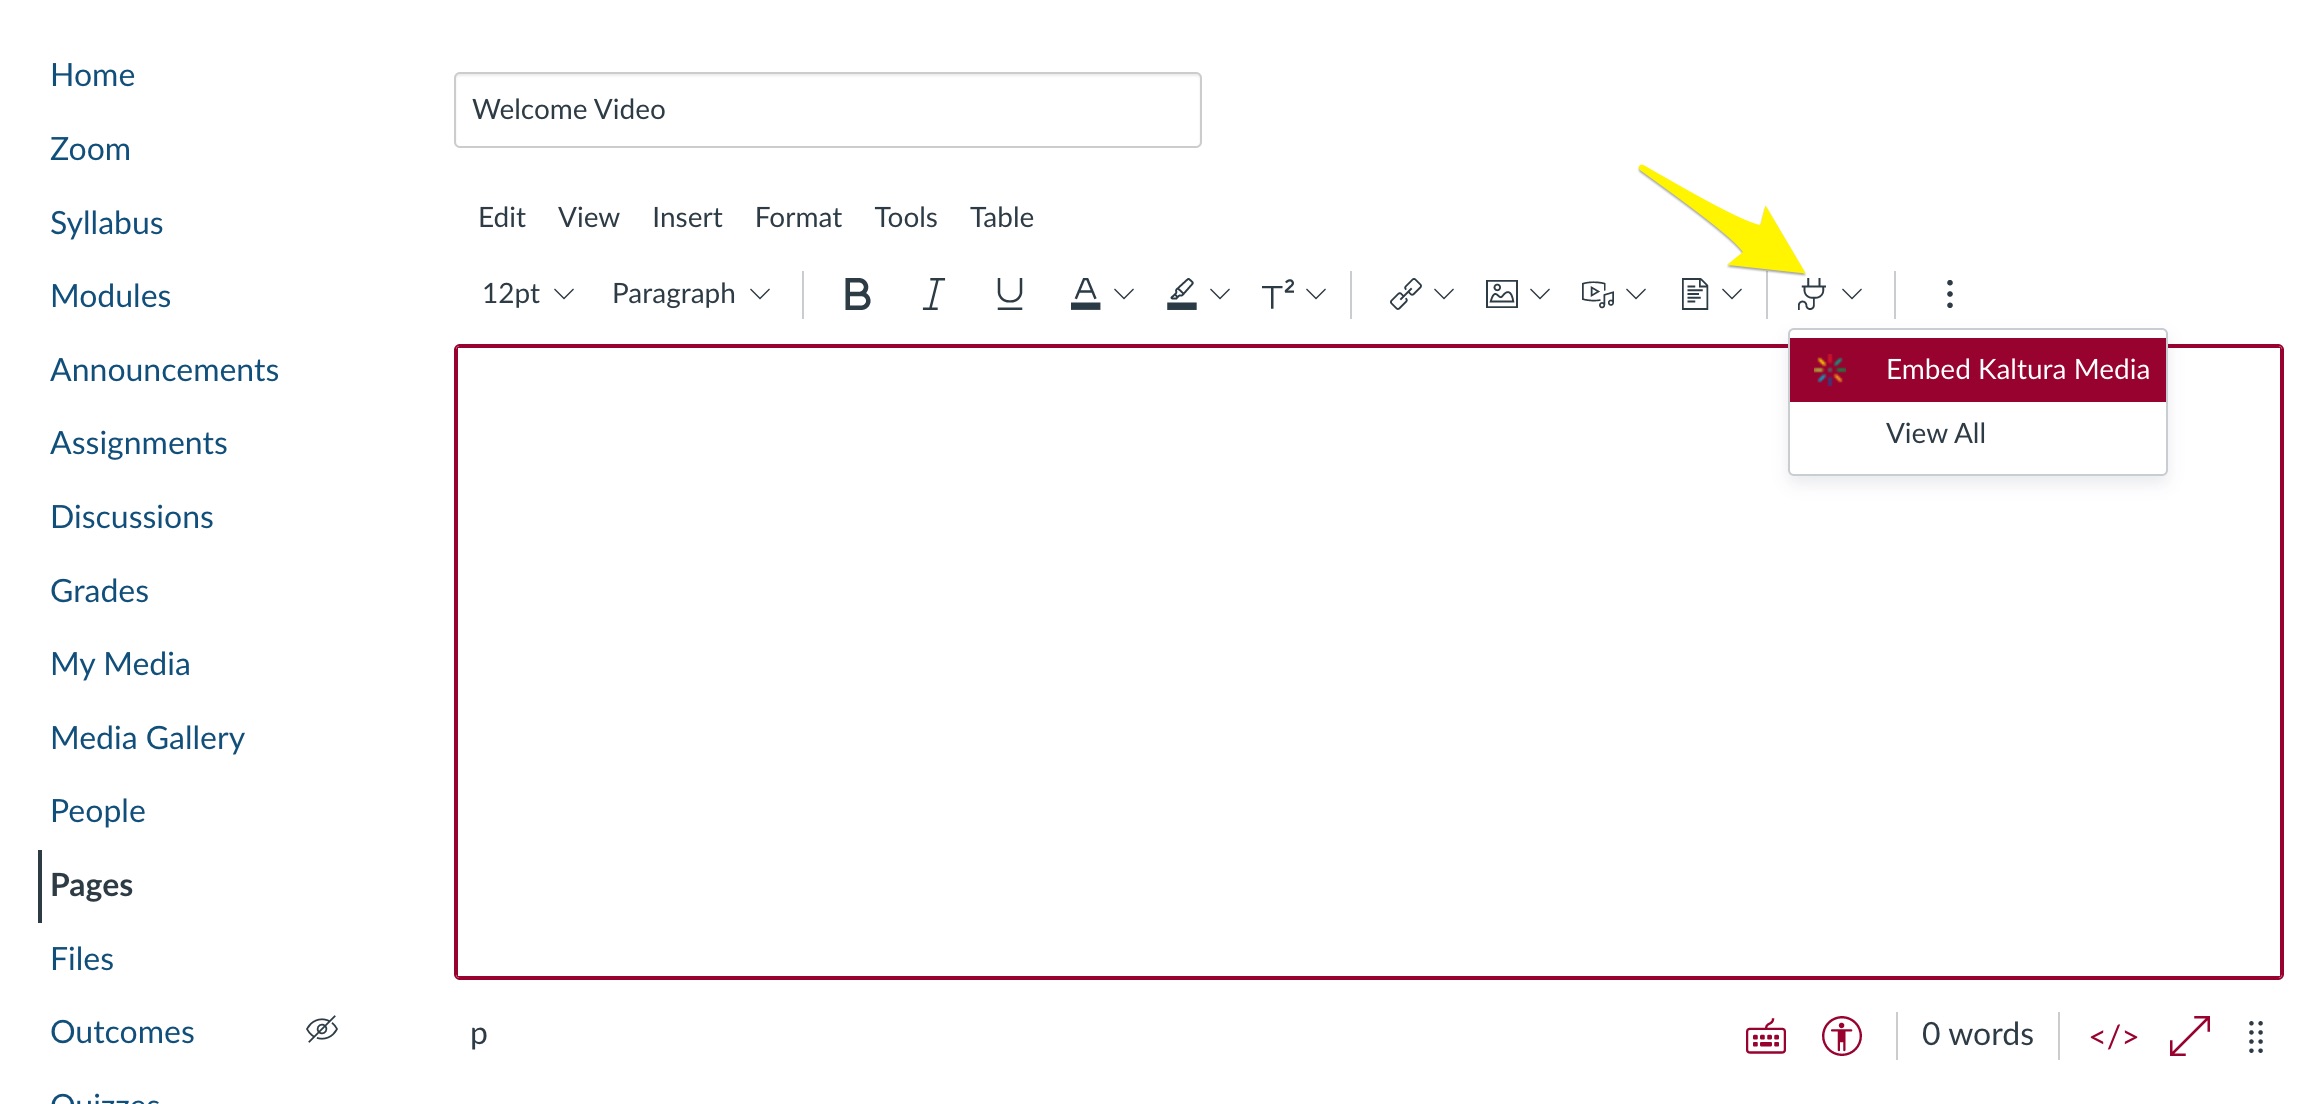
Click the Canvas page Edit button on the top right and then click the “electric plug” icon. Select Embed Kaltura Media.
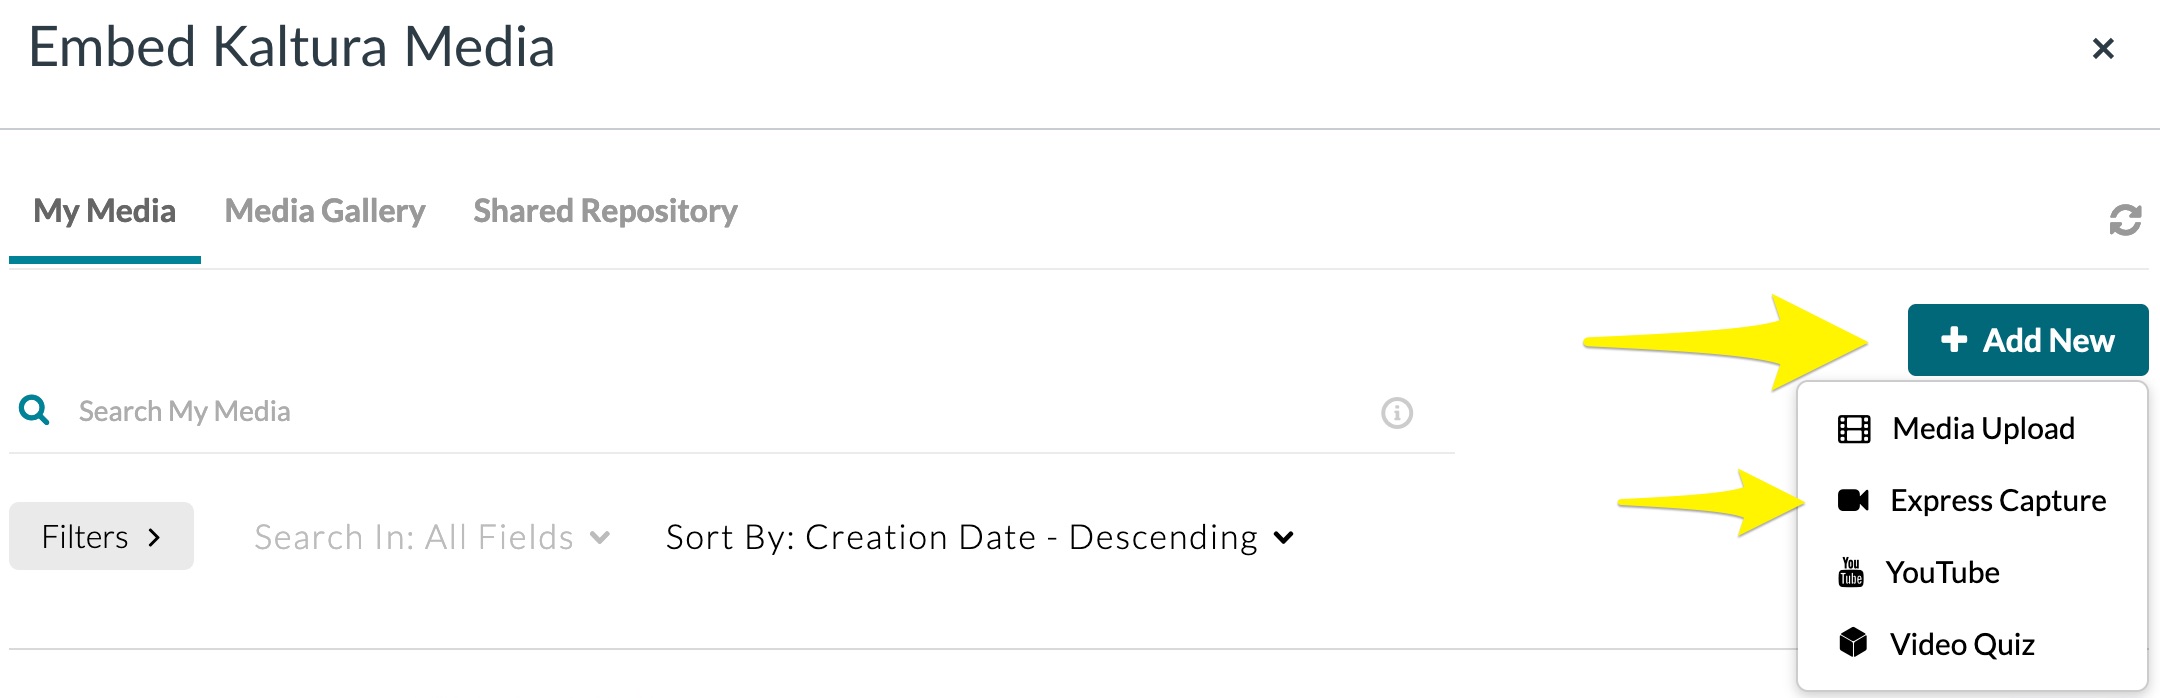
A new window should pop open, click Add New and select Express Capture.
A small window will open asking you to define the webcam and microphone you wish to use.
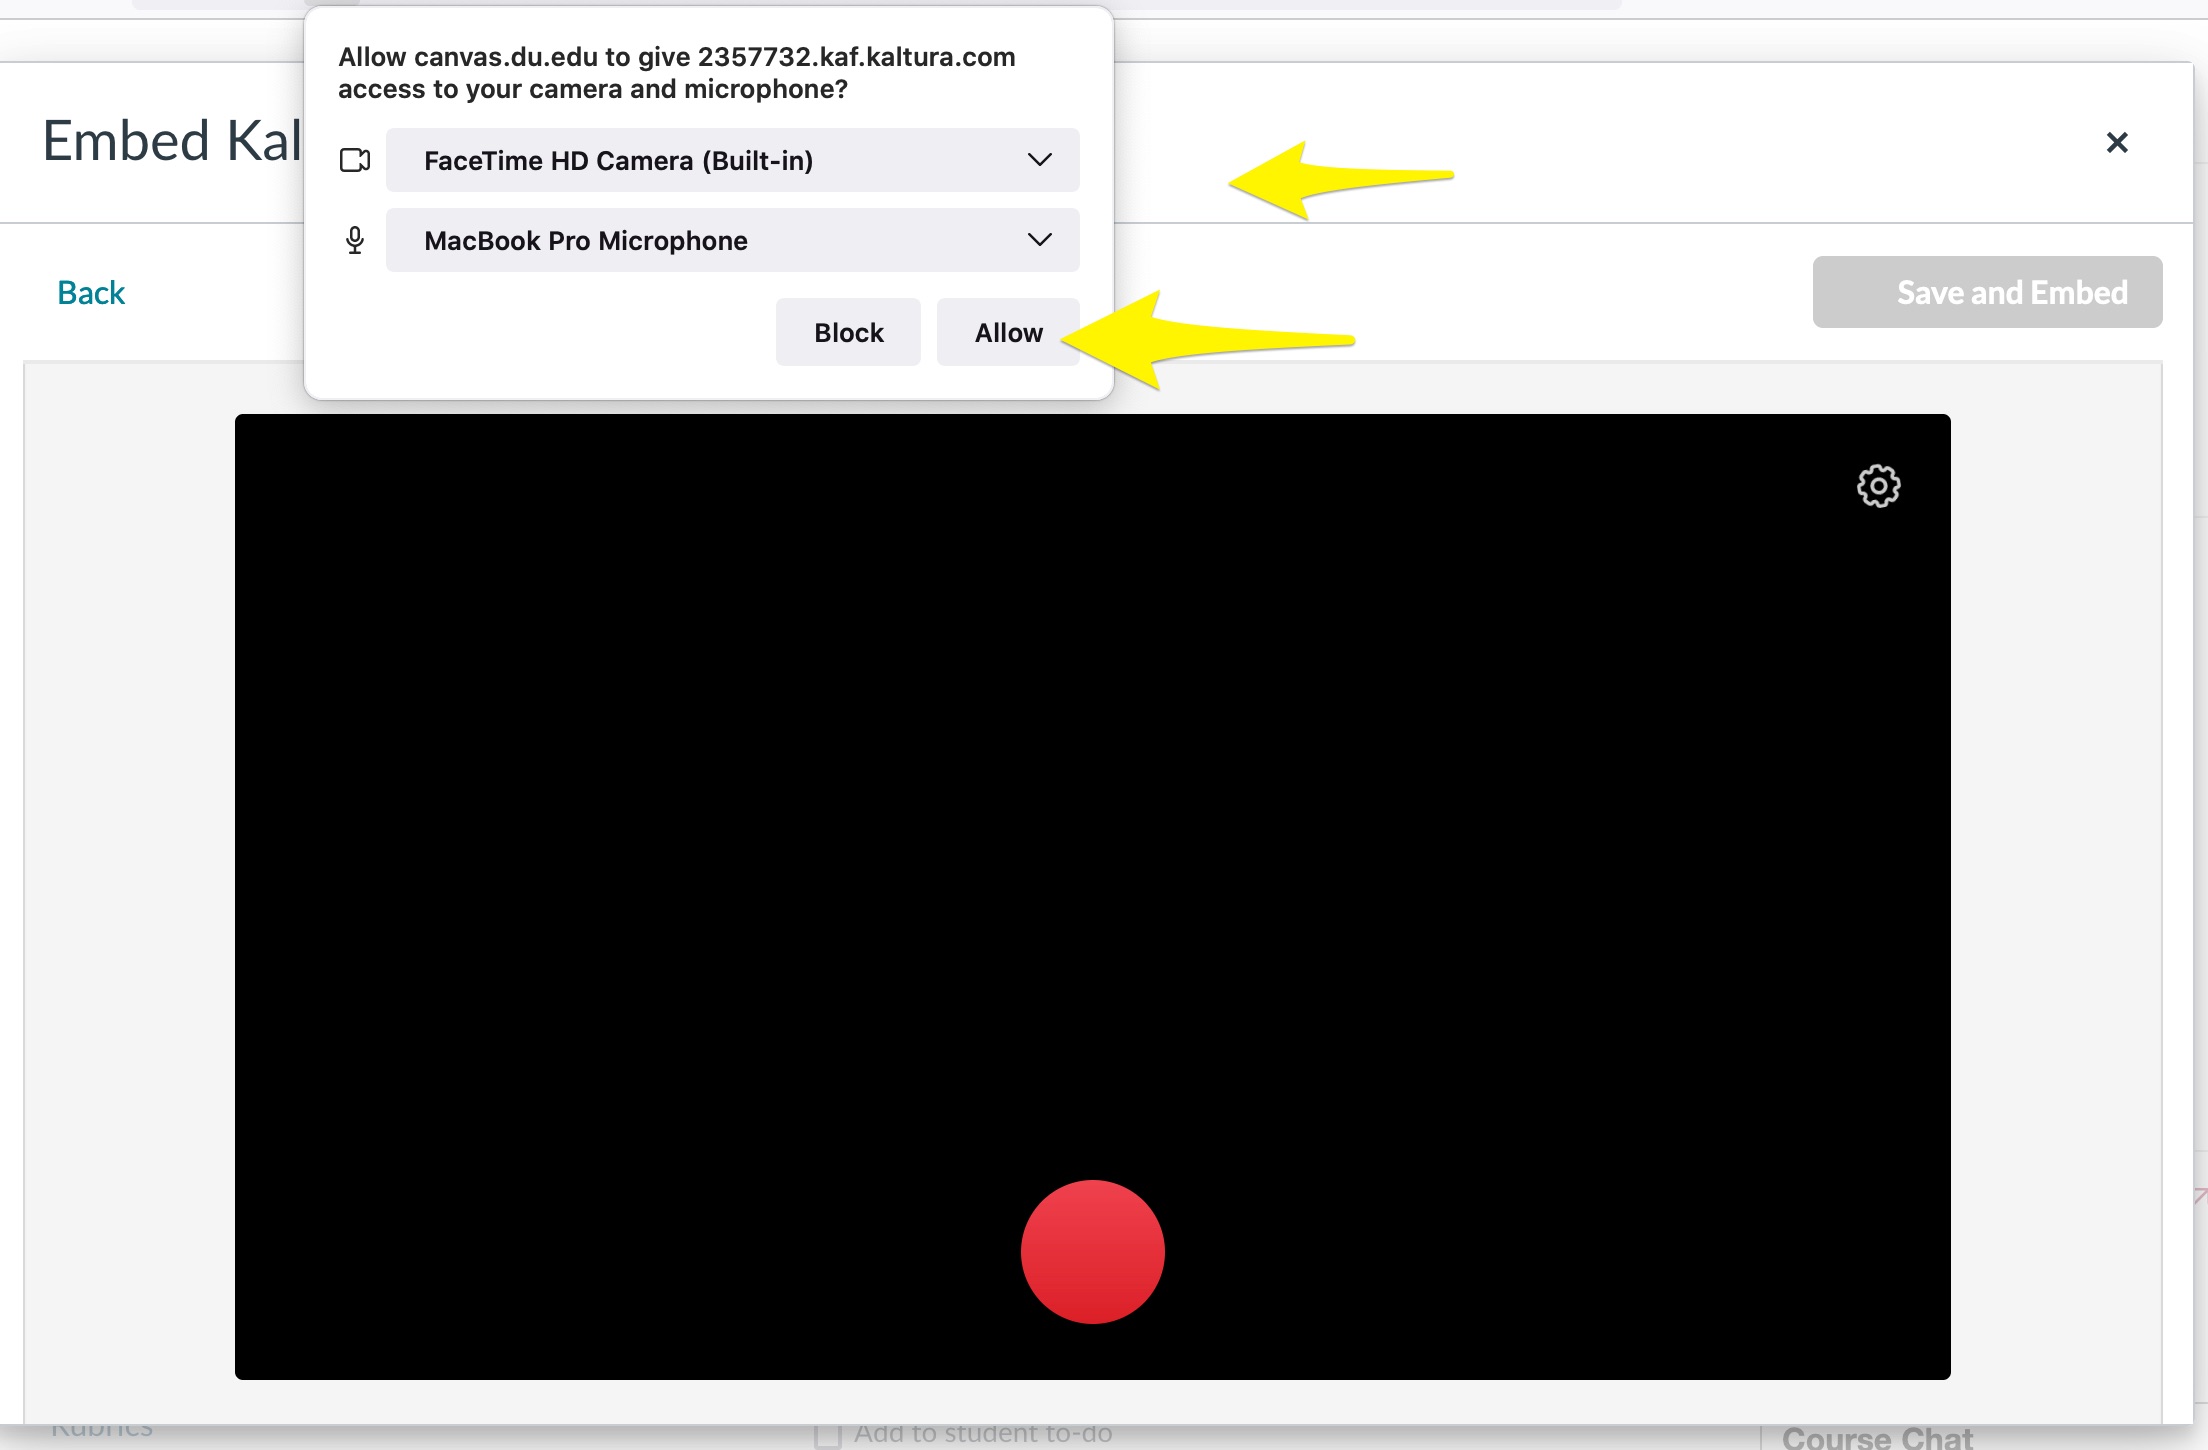
Click the big red button to get started. Don’t worry, you can delete it and try again.

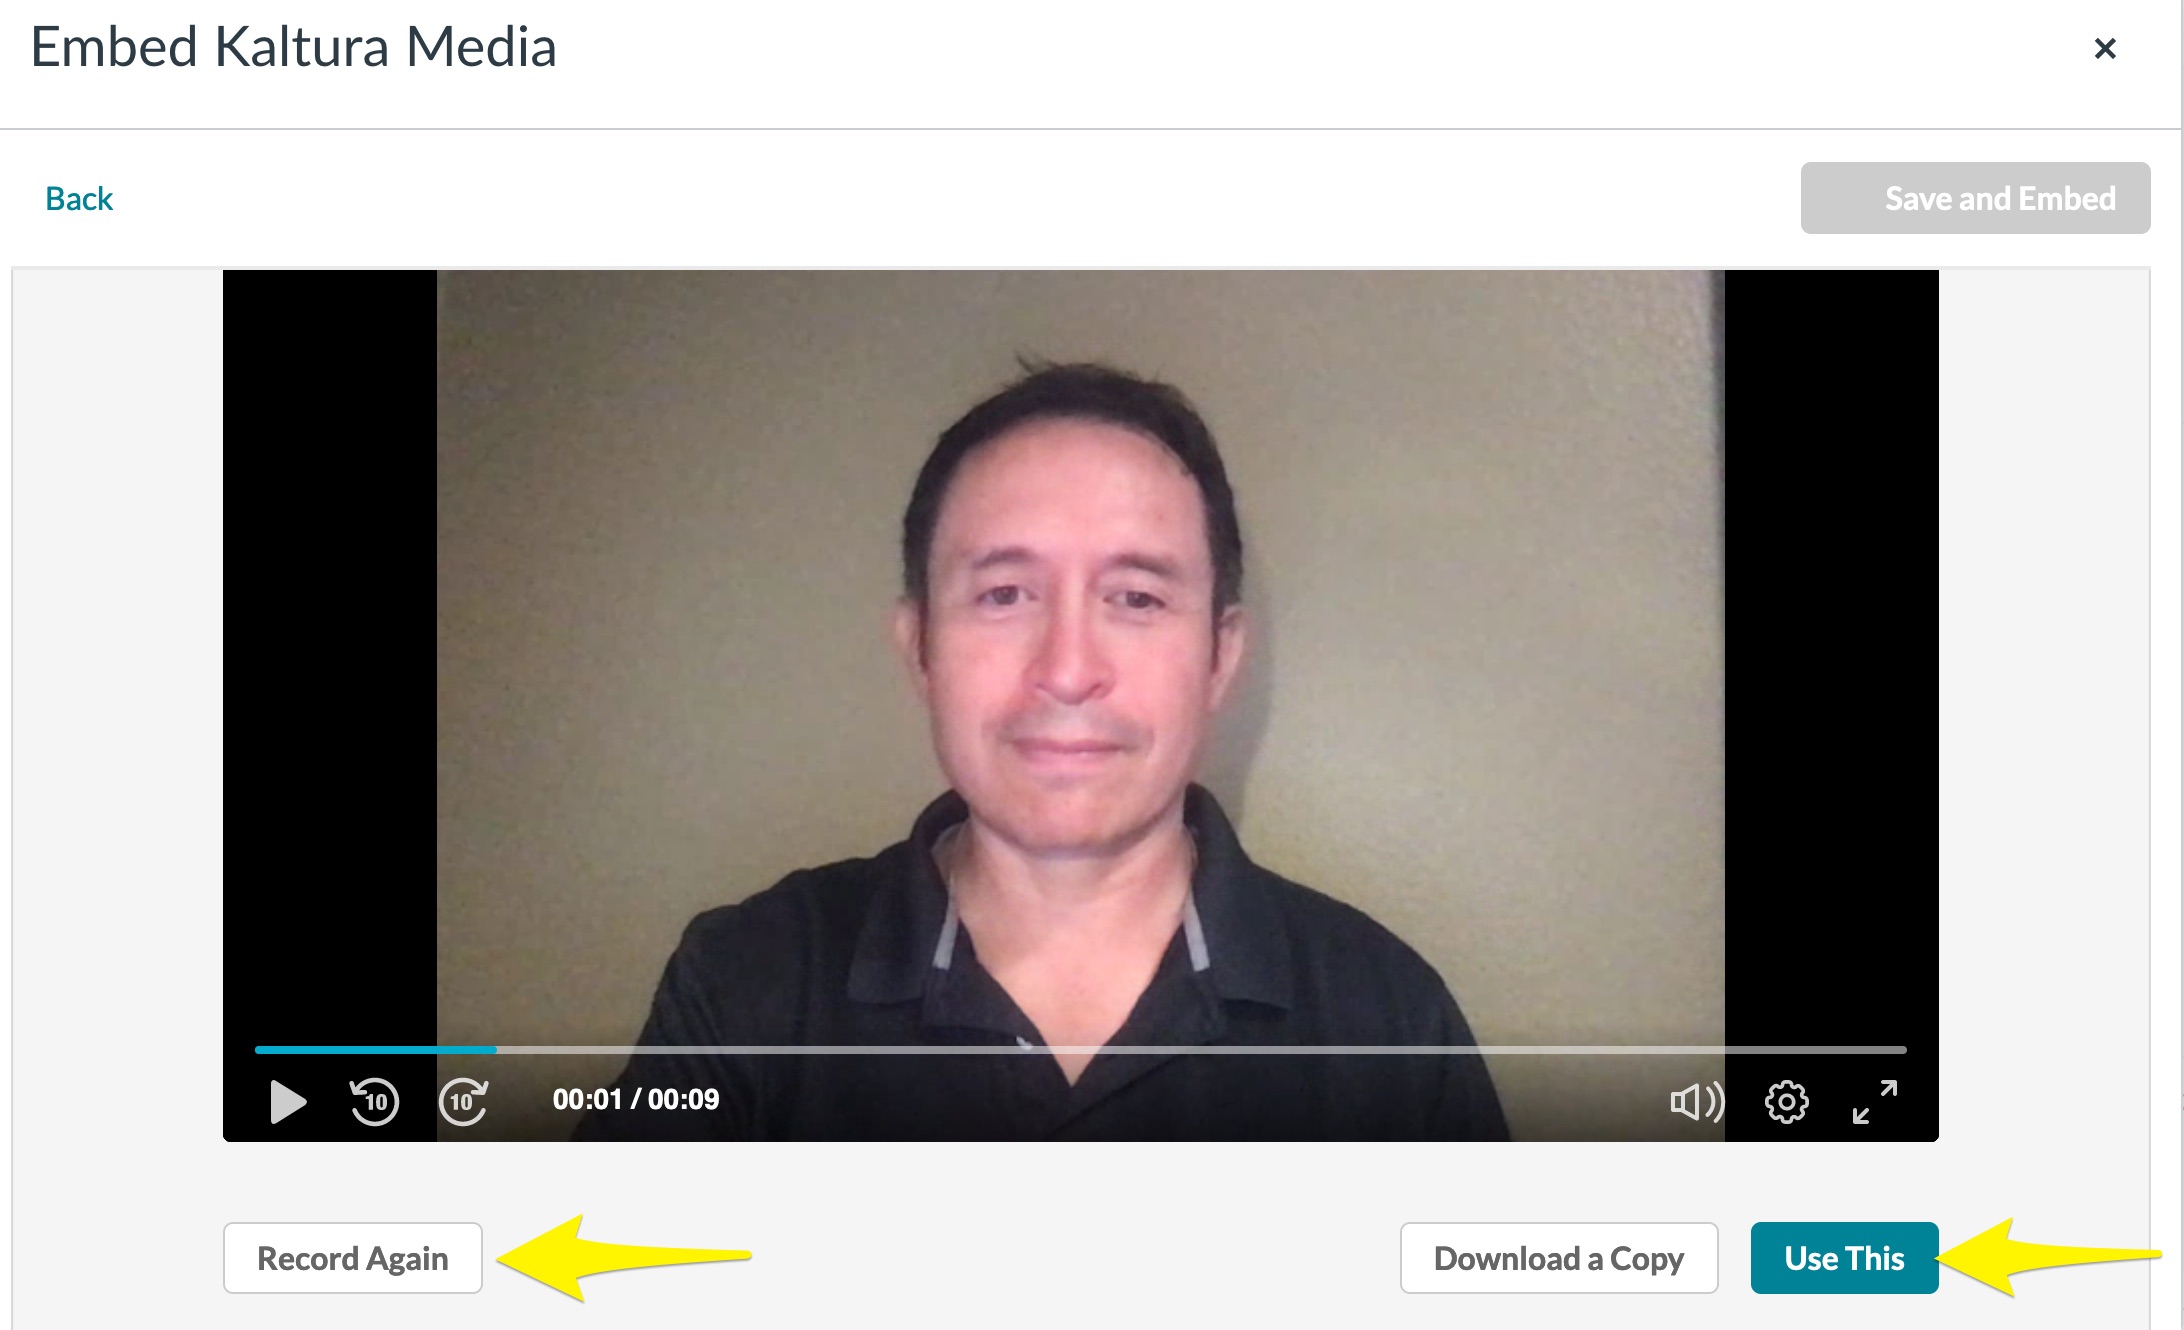
Once you are satisfied with your video, click Use This. If you want to re-record, click Record Again.
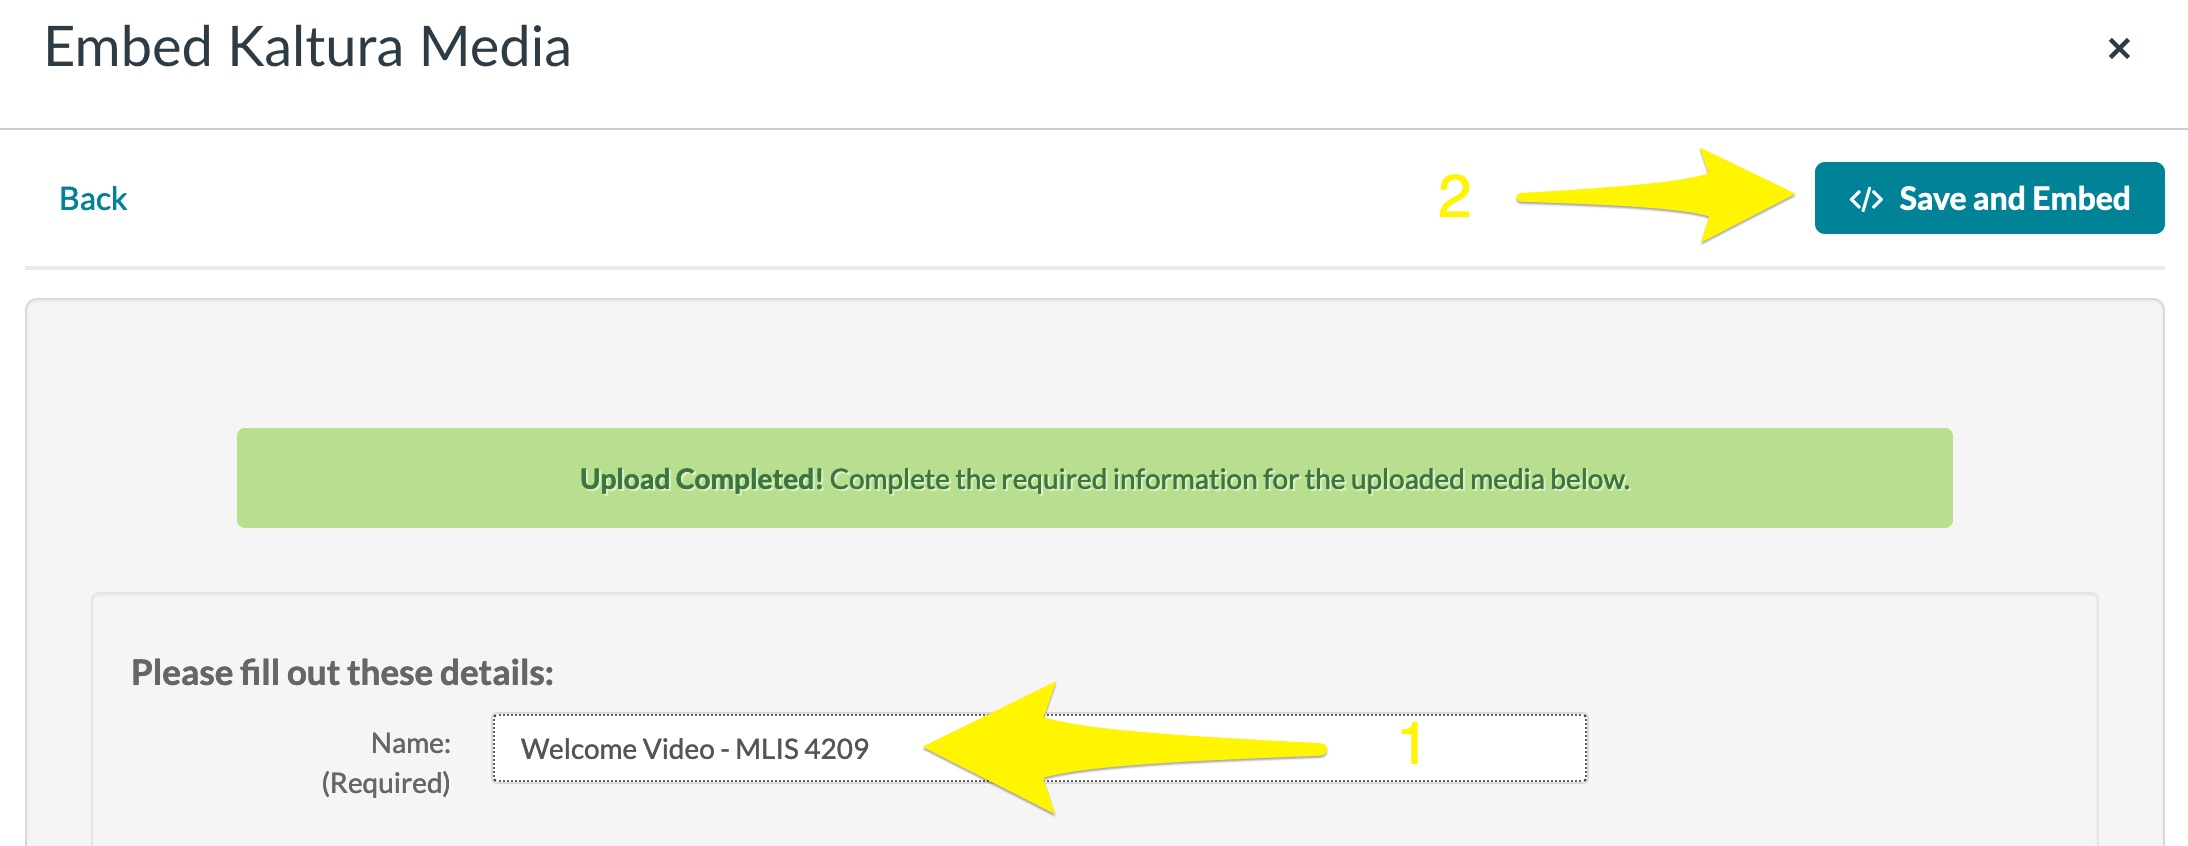
Click Save and Embed to post video on your Canvas page.
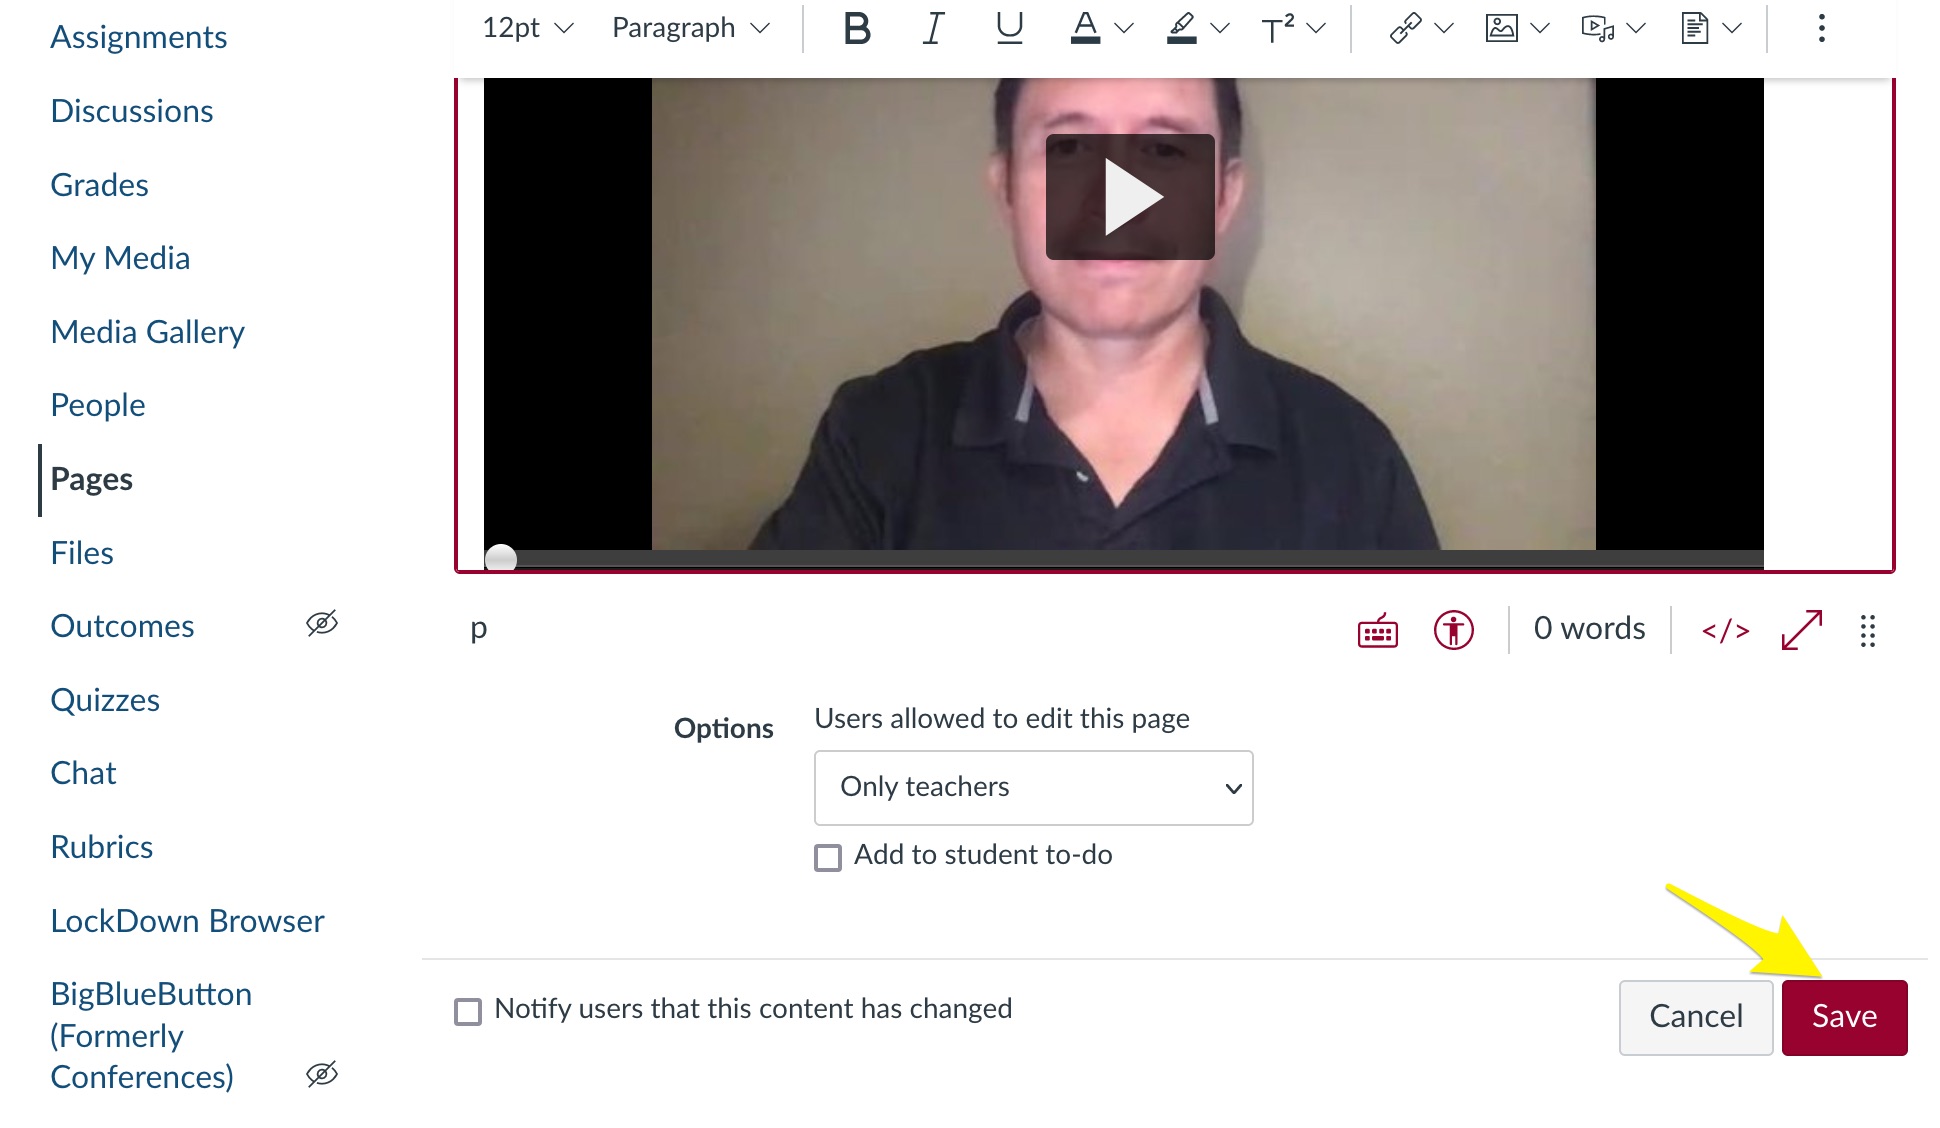
Press Save or Save and Publish on the Canvas page.
Option 2: Kaltura Capture within Canvas
- Go to Canvas -> My Media
- Click Add New and select Kaltura Capture
- Download the Windows or Mac copy of the Kaltura Capture Desktop Recorder
- Install the software and then refresh the page. This time, you should see a message asking you permission to open Kaltura Capture.
- Once Kaltura Capture is opened, record yourself. You can re-record yourself if necessary.
- Once you are satisfied, press the Save & Upload.
- Post your video on your Canvas page.
Option 3: ZOOM – Record video and upload to Canvas
- Use ZOOM to record yourself.
- Record your ZOOM video on your local computer.
- Apply a virtual background to enhance your background.
- Upload the ZOOM .mp4 file on a Canvas page using the Kaltura tools.
Examples
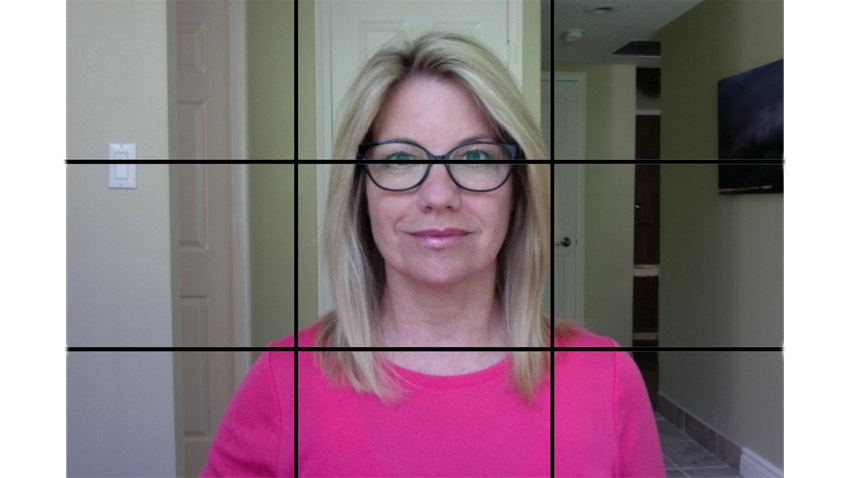
Welcome video by Jennifer Sekulski-Barton using a webcam and Kaltura Capture.
Welcome video by Jeffrey Schwartz using ZOOM virtual background and Kaltura.
Welcome video by Joseph Kerski using a green screen in the DU Video Creation Studio.